bad-lawn-016
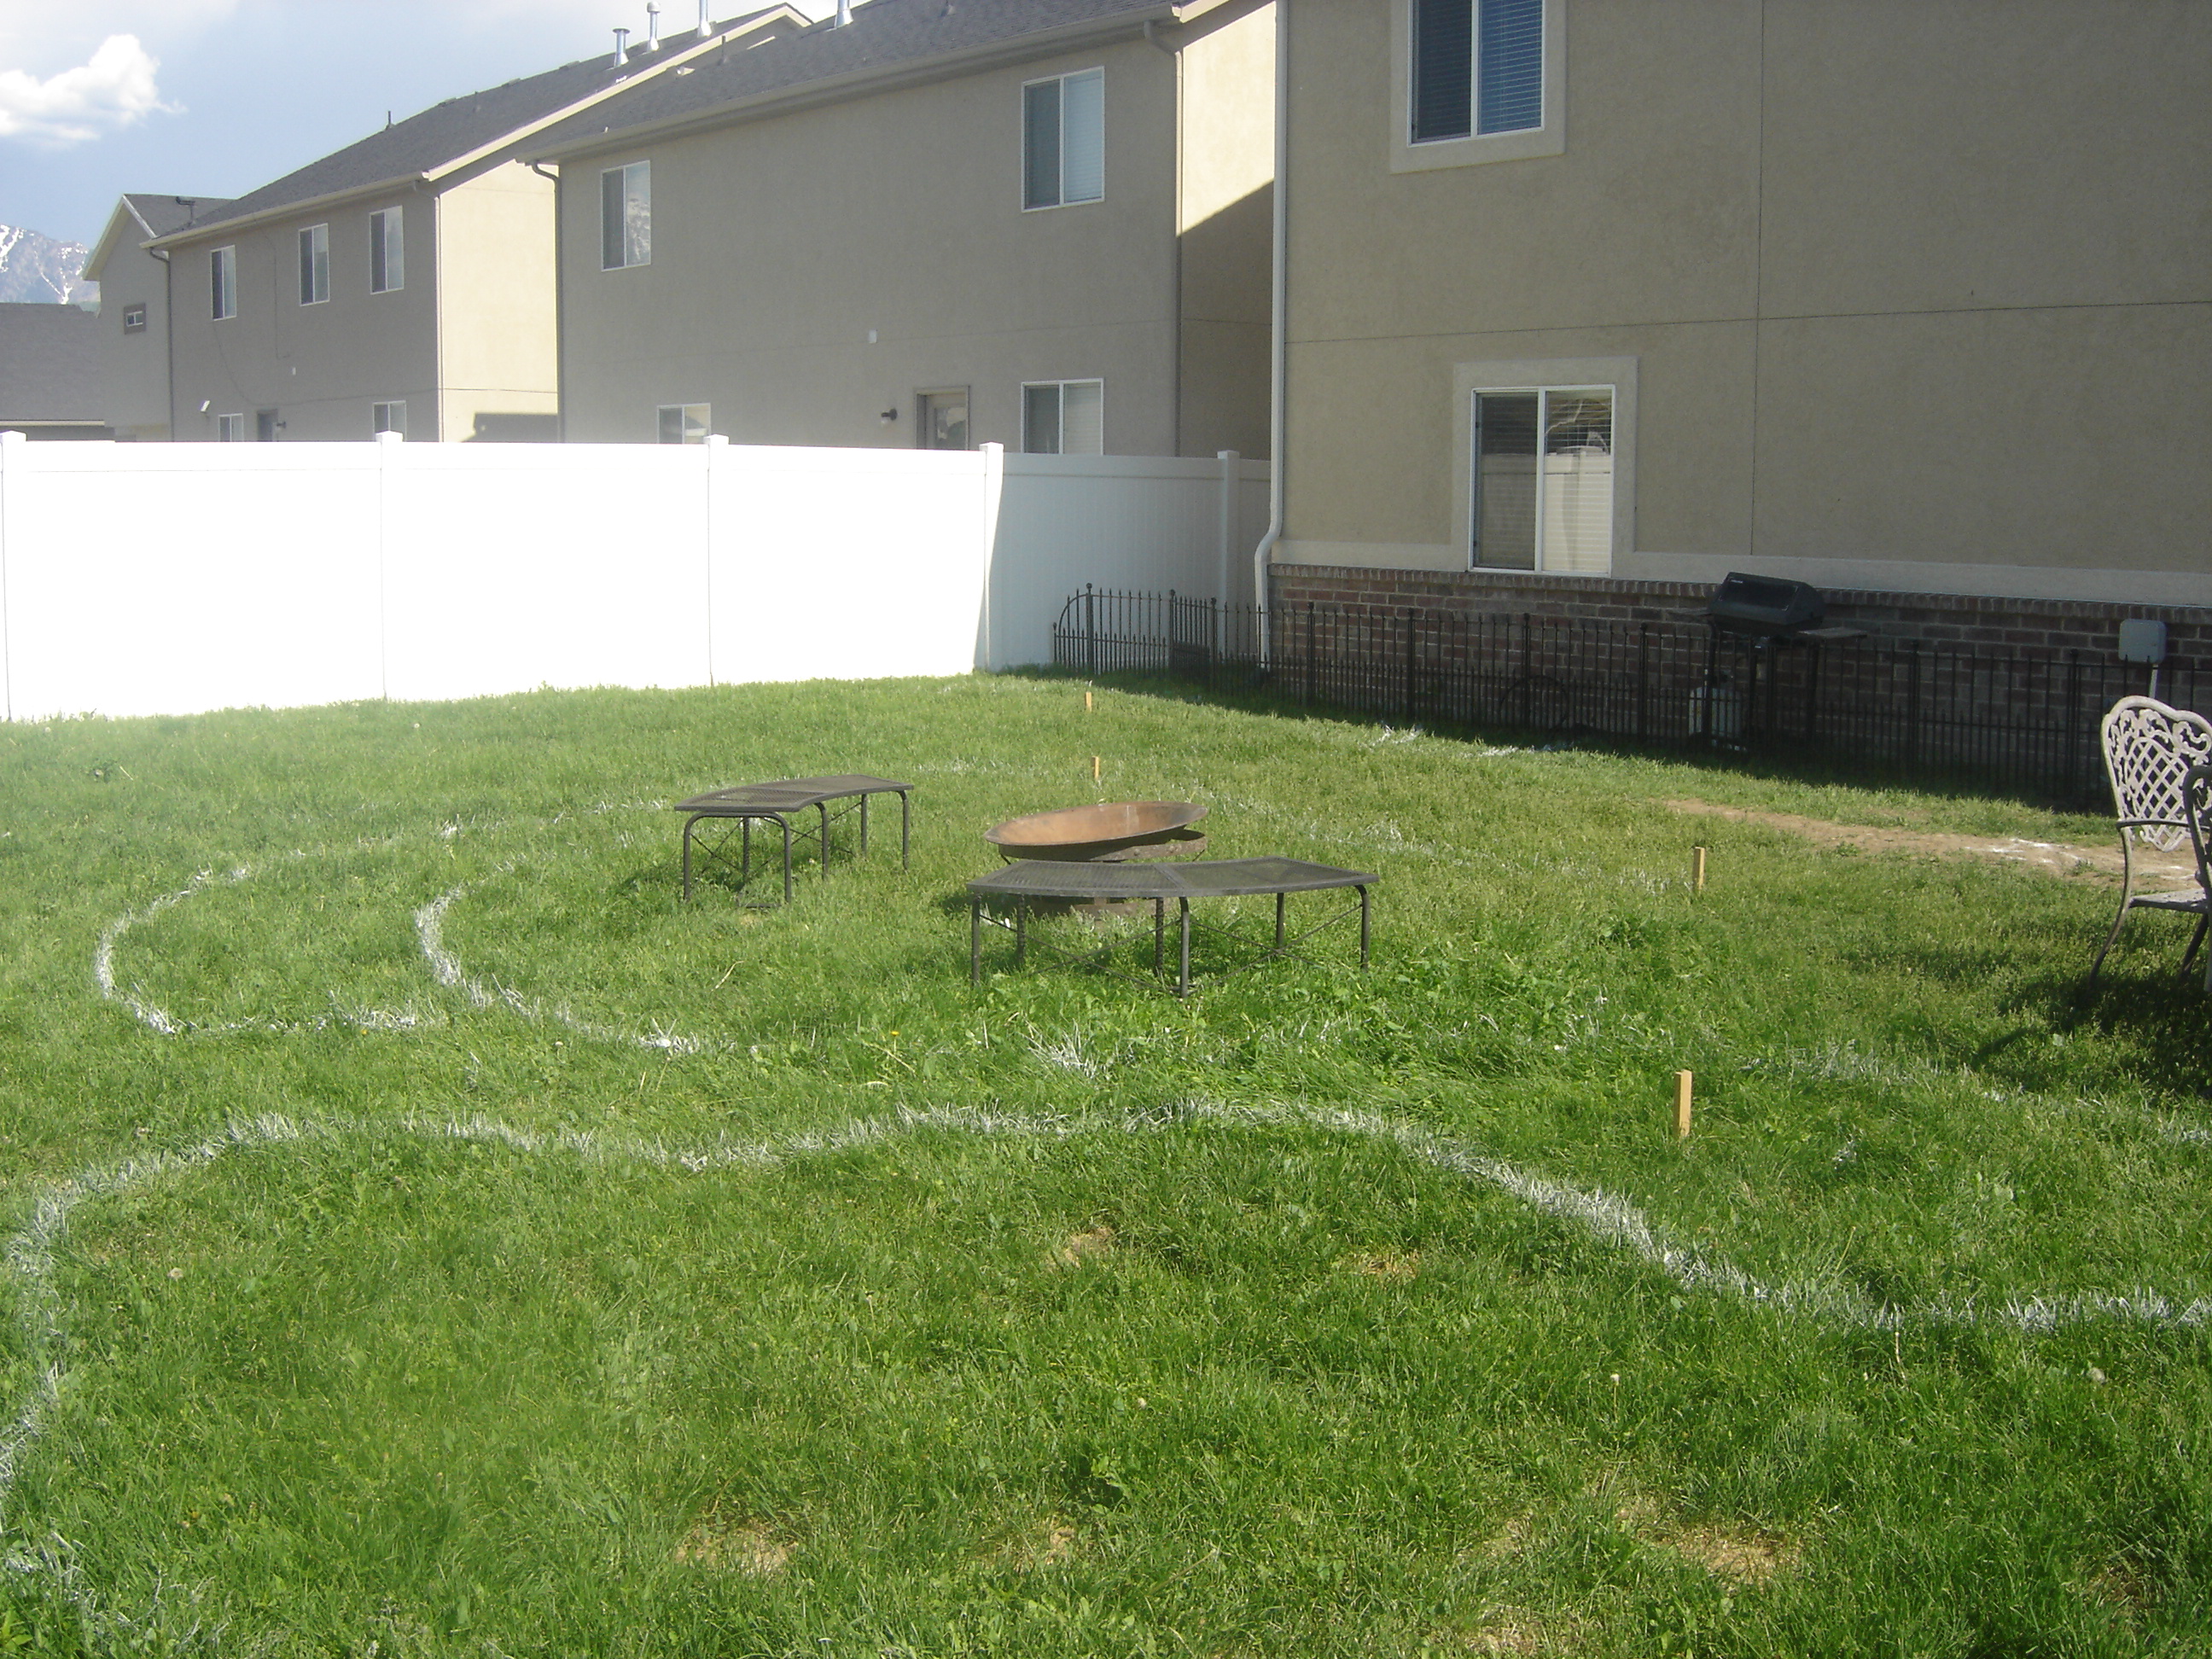
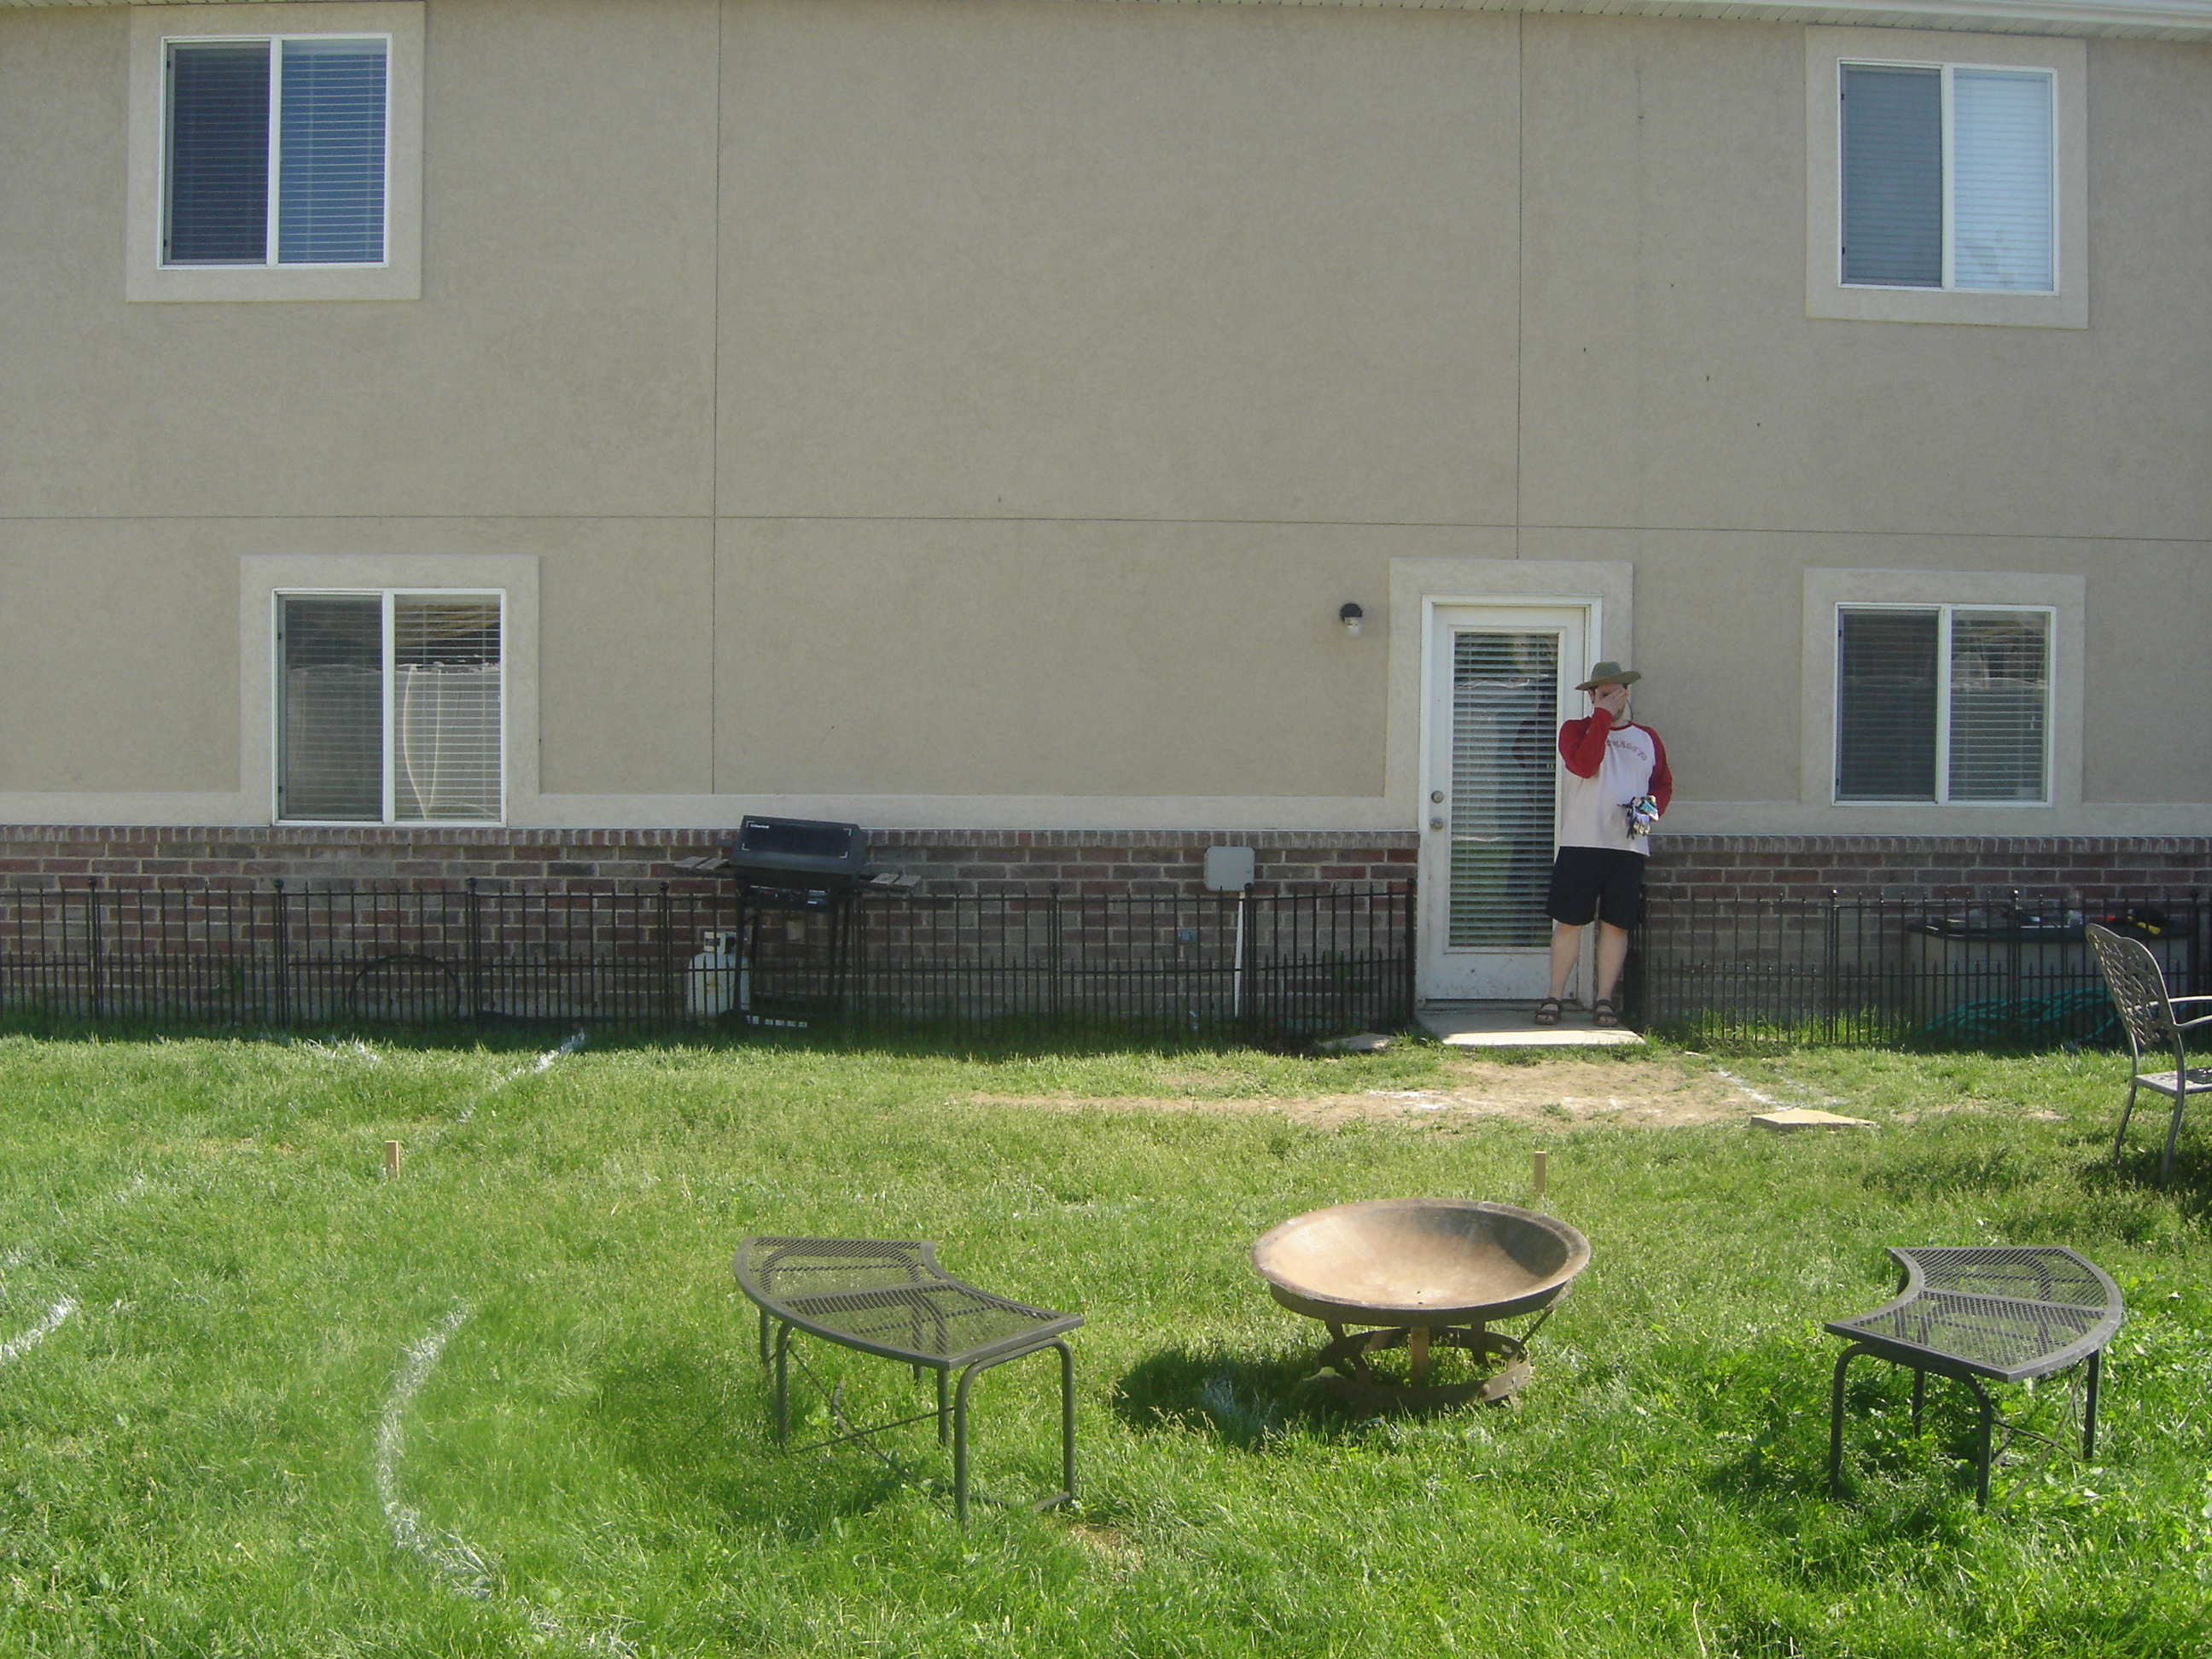
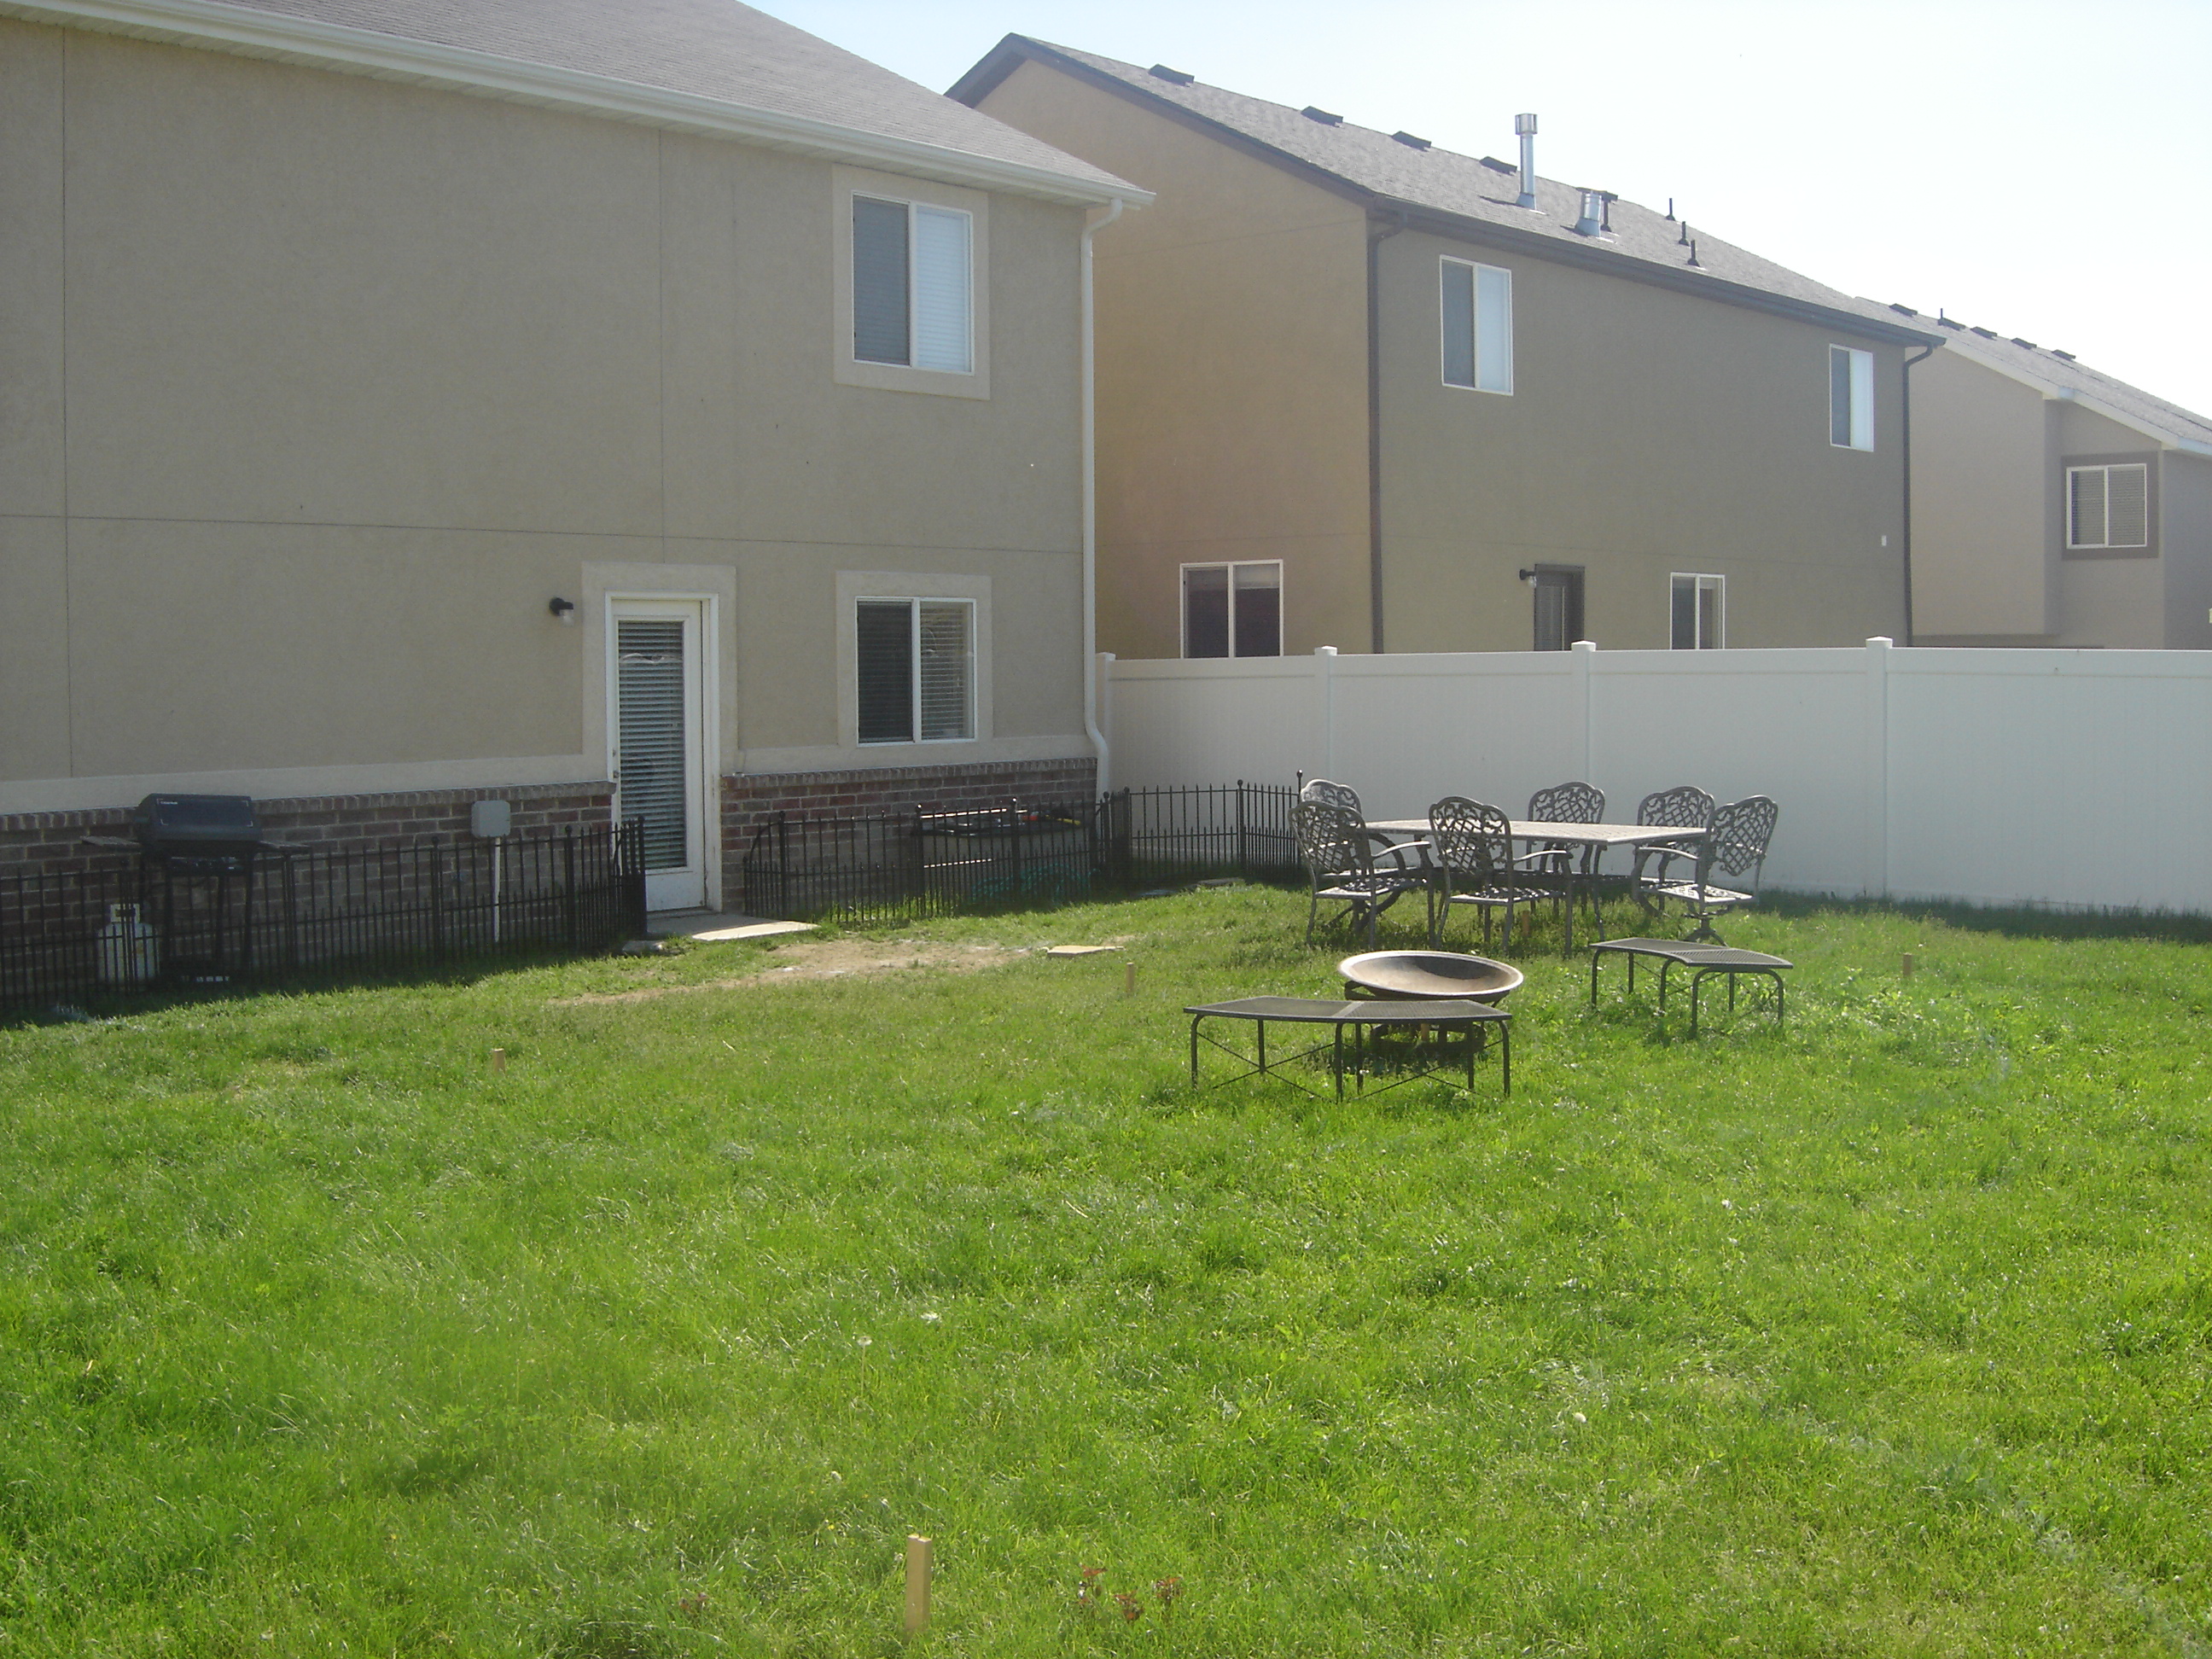
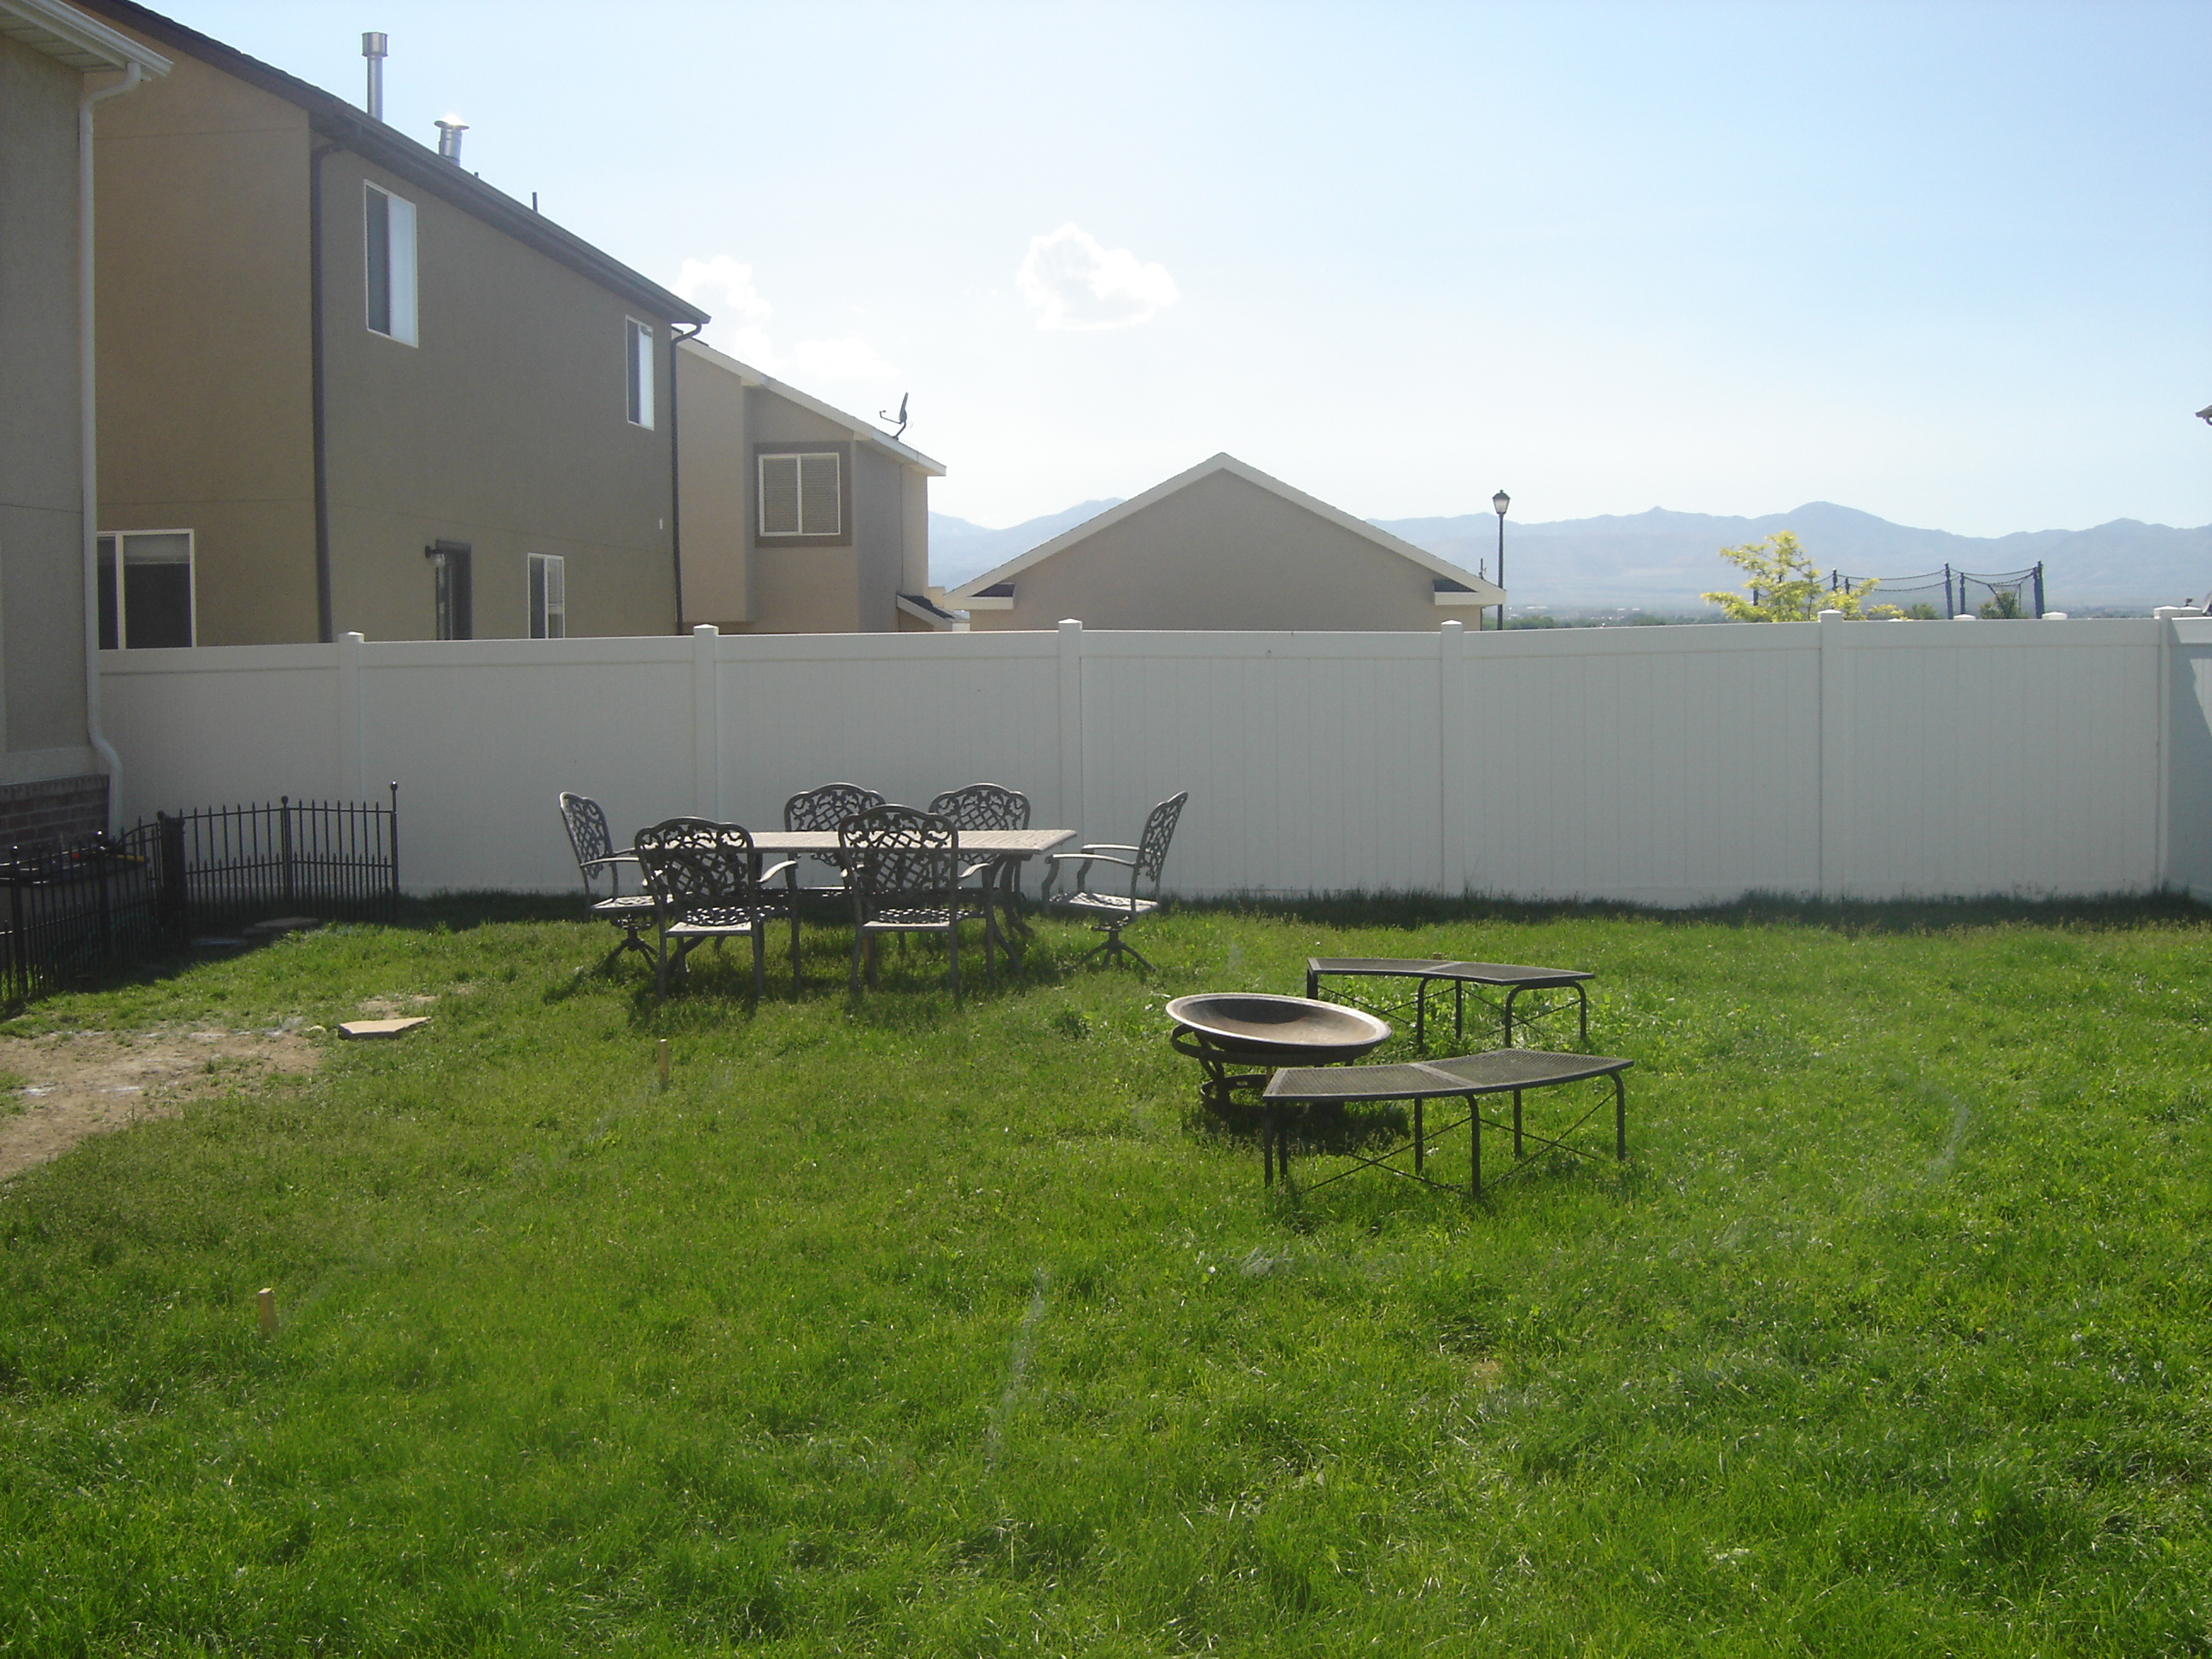
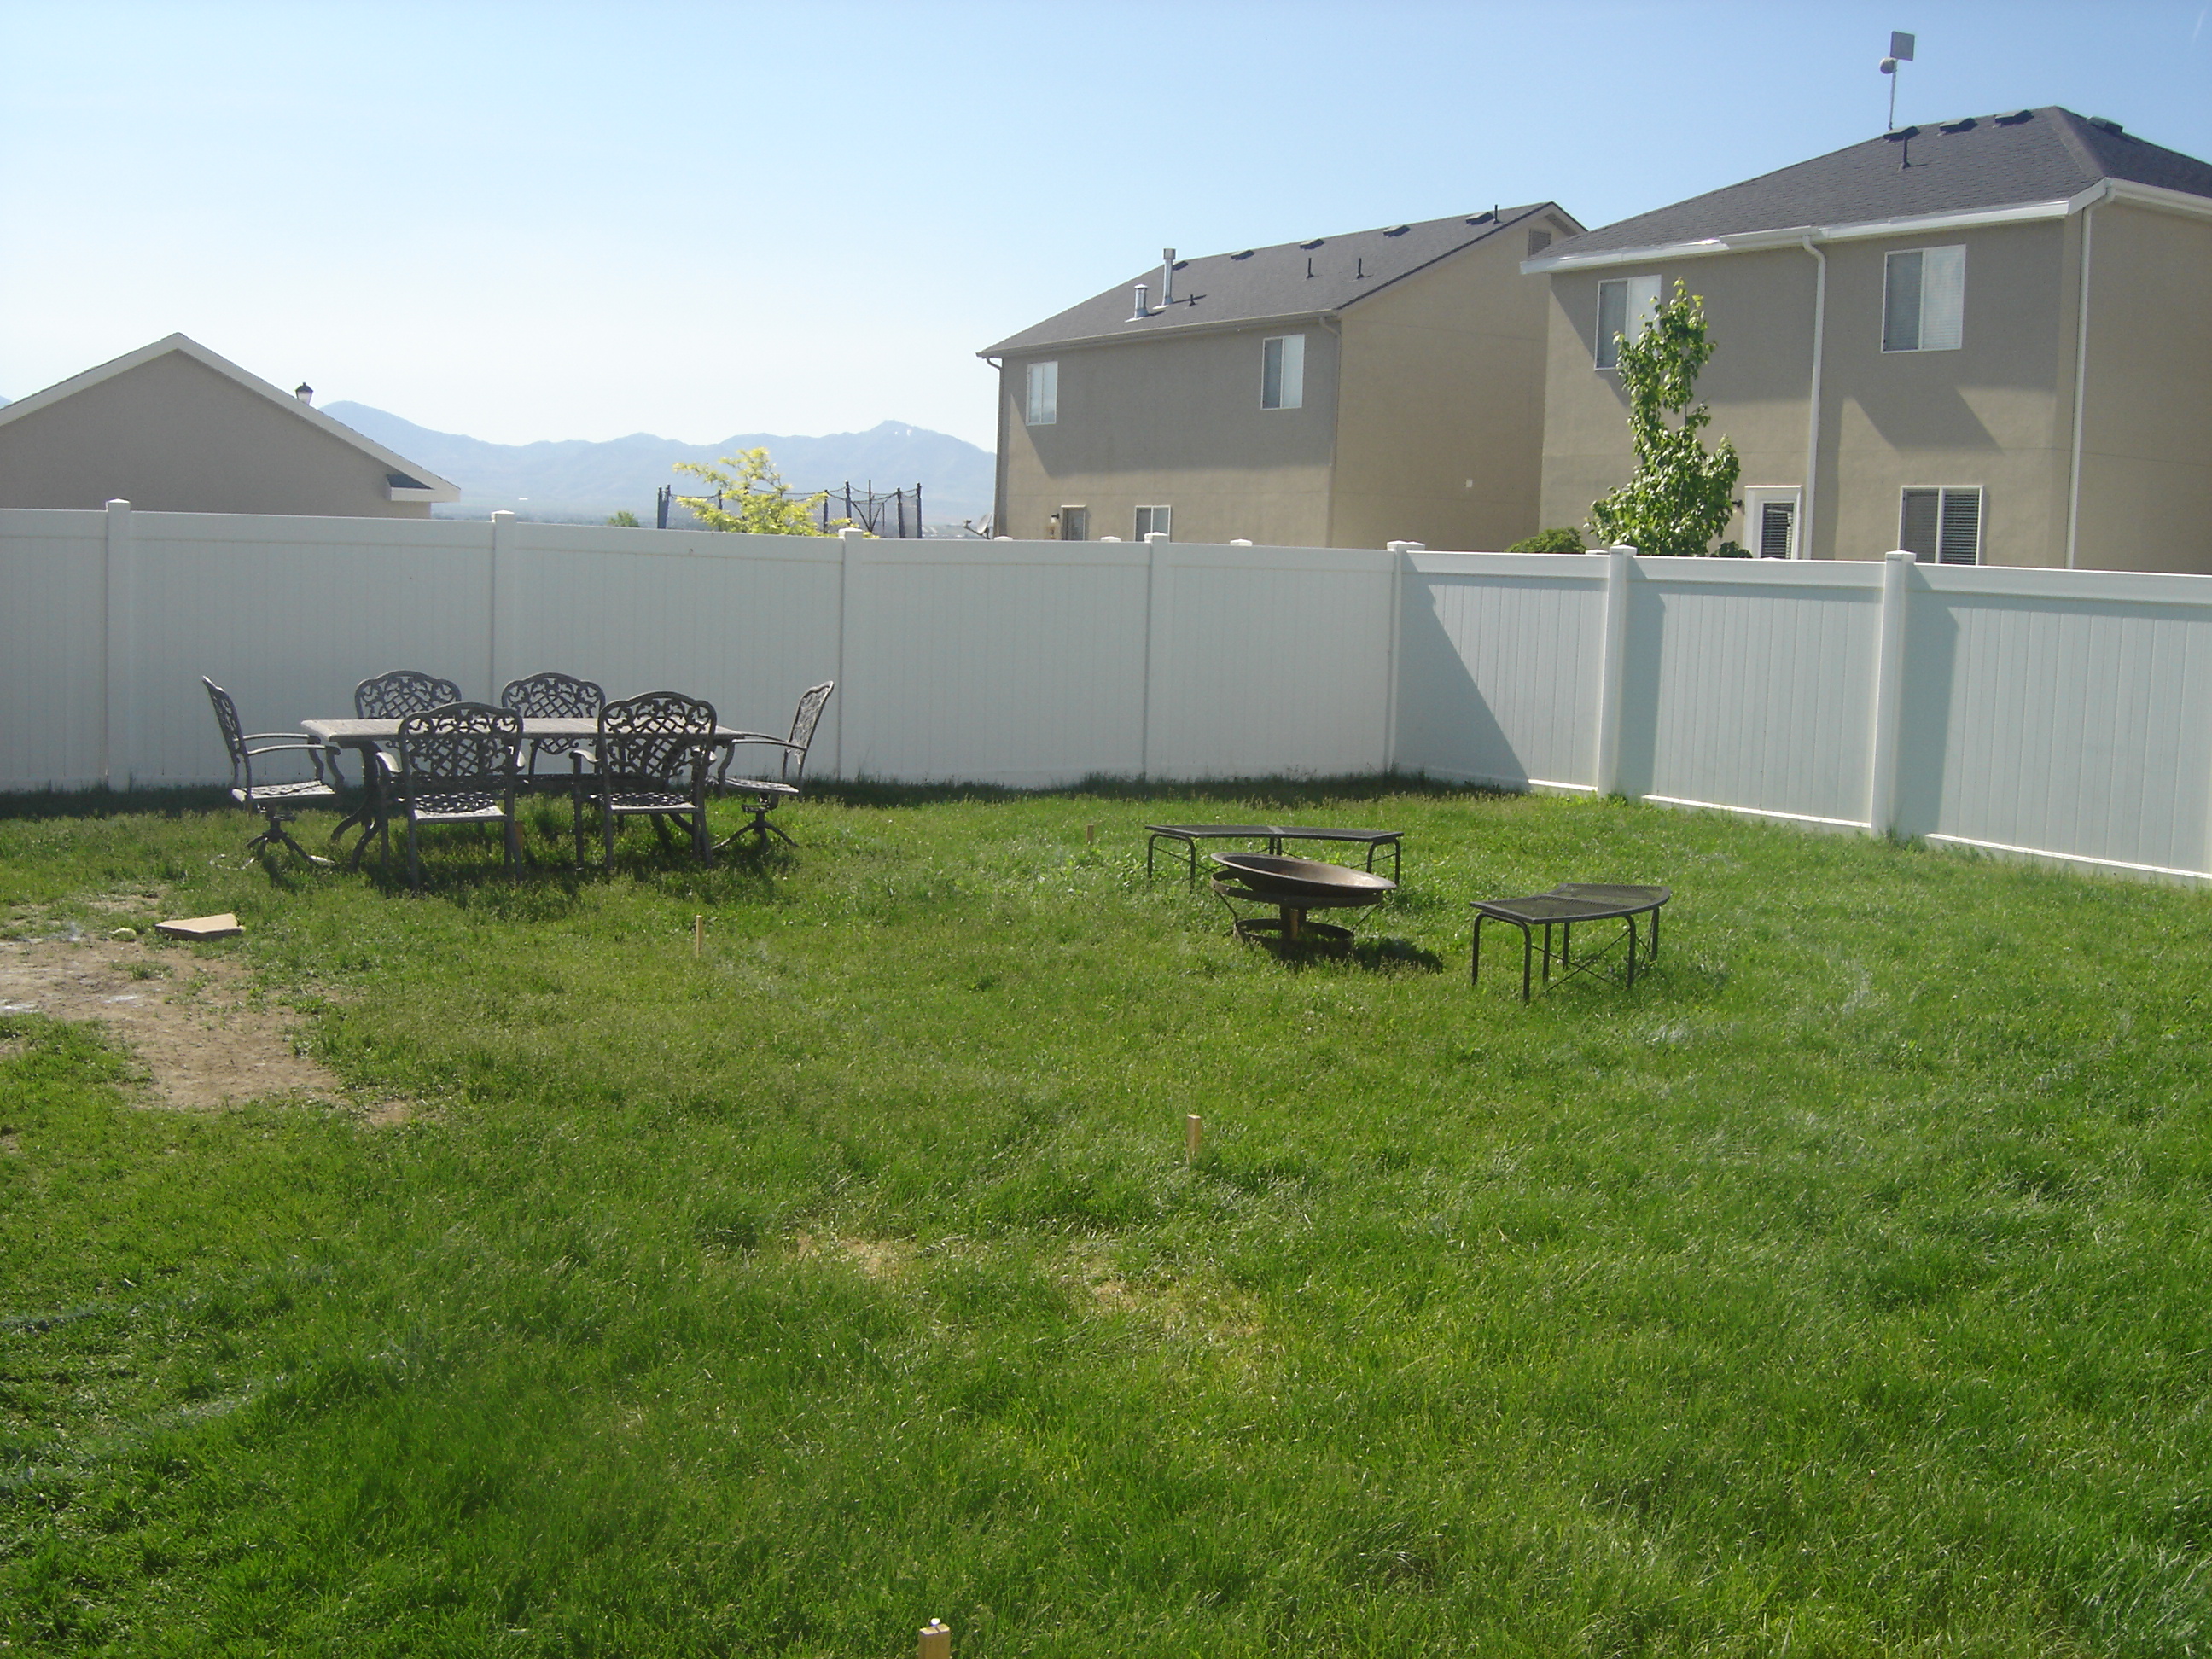
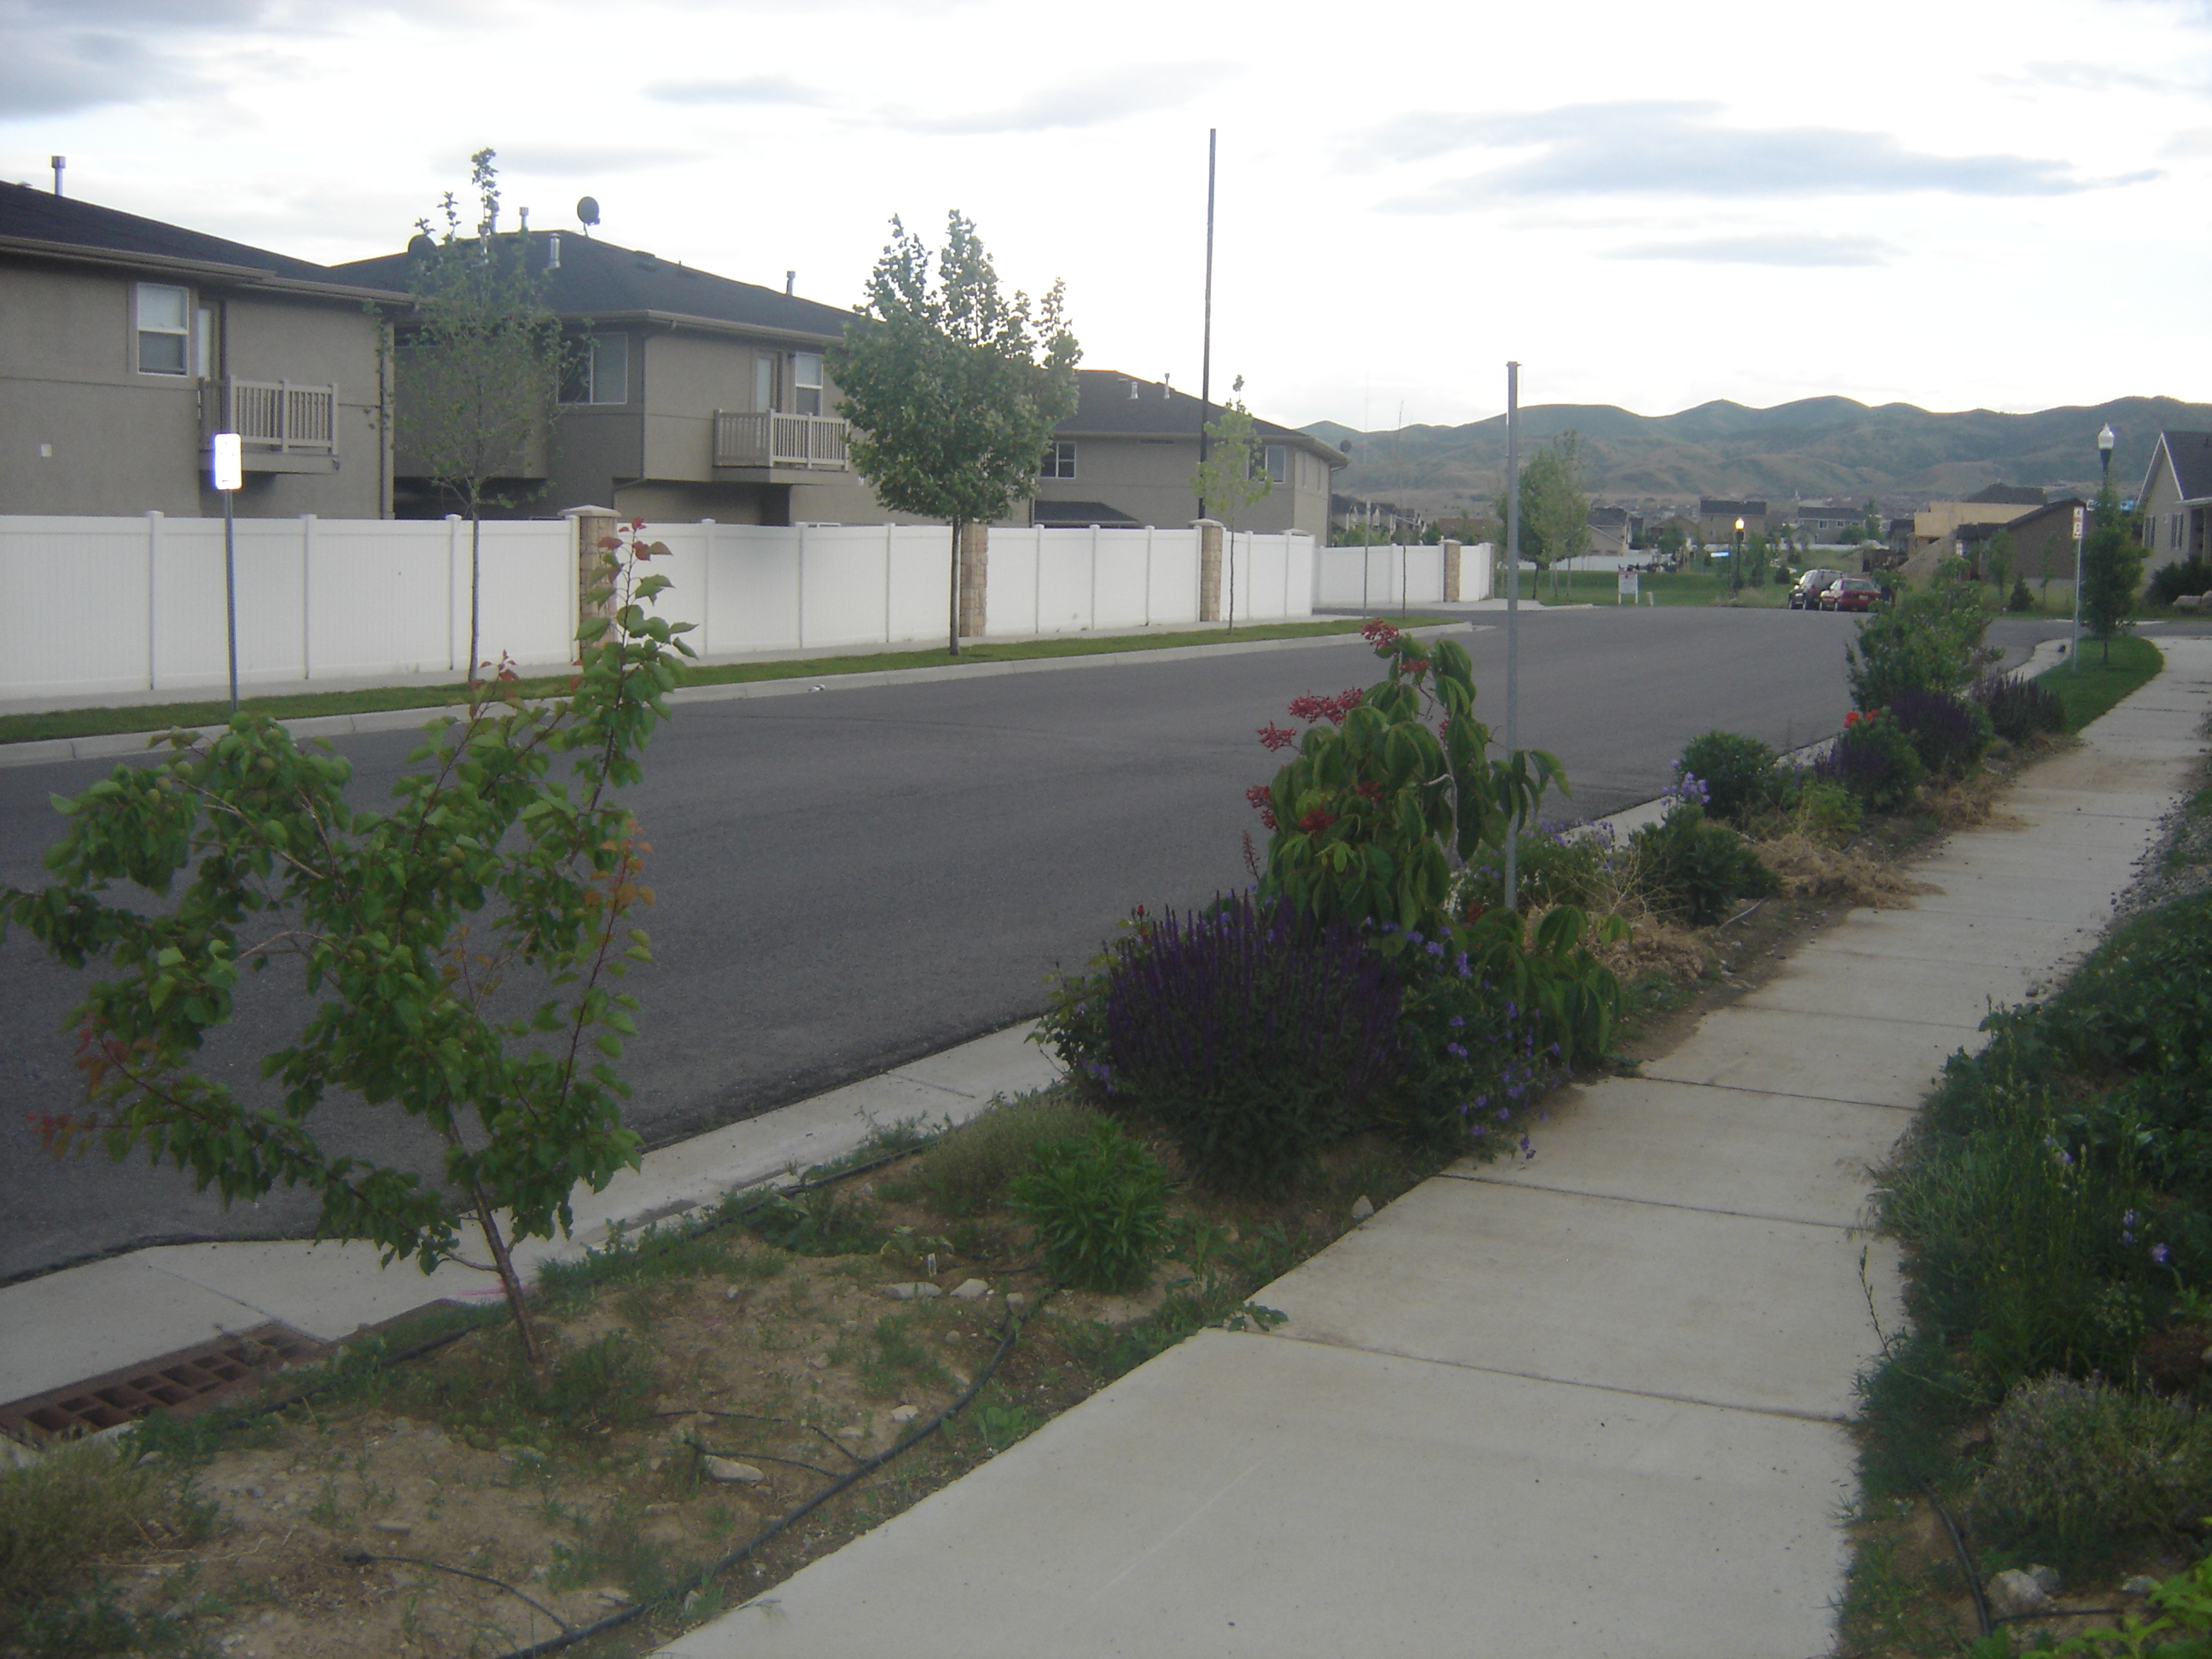
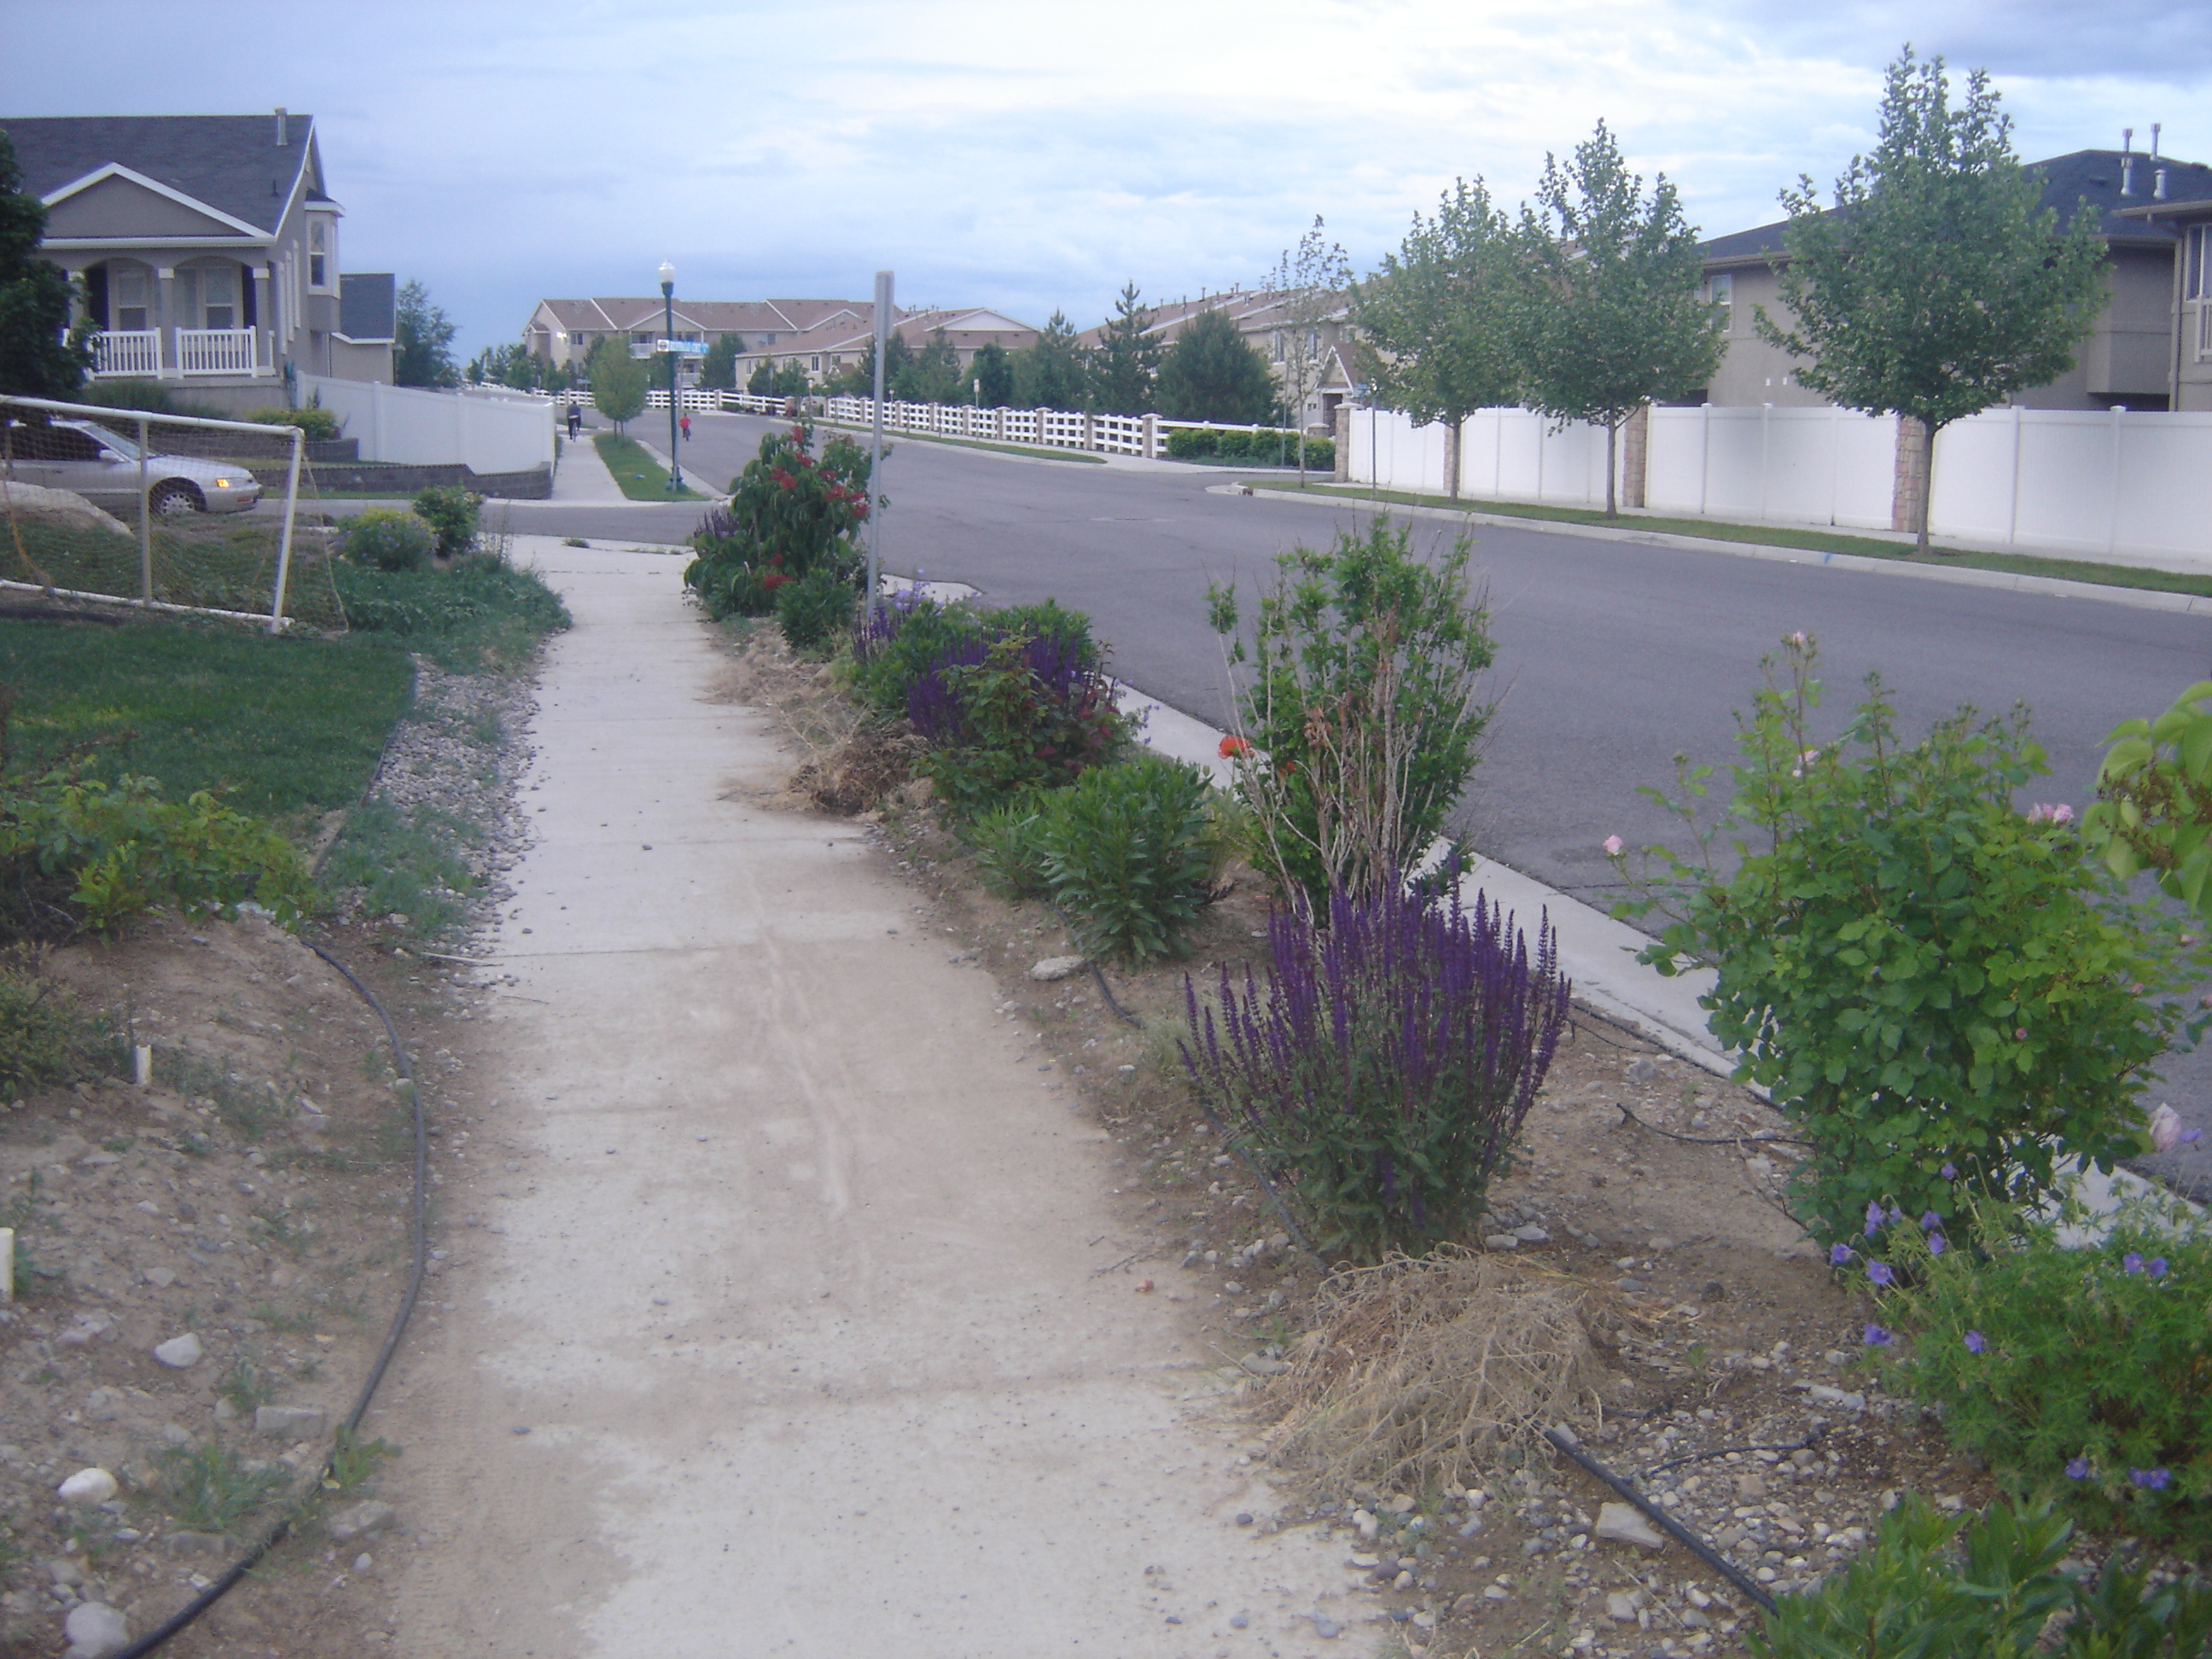
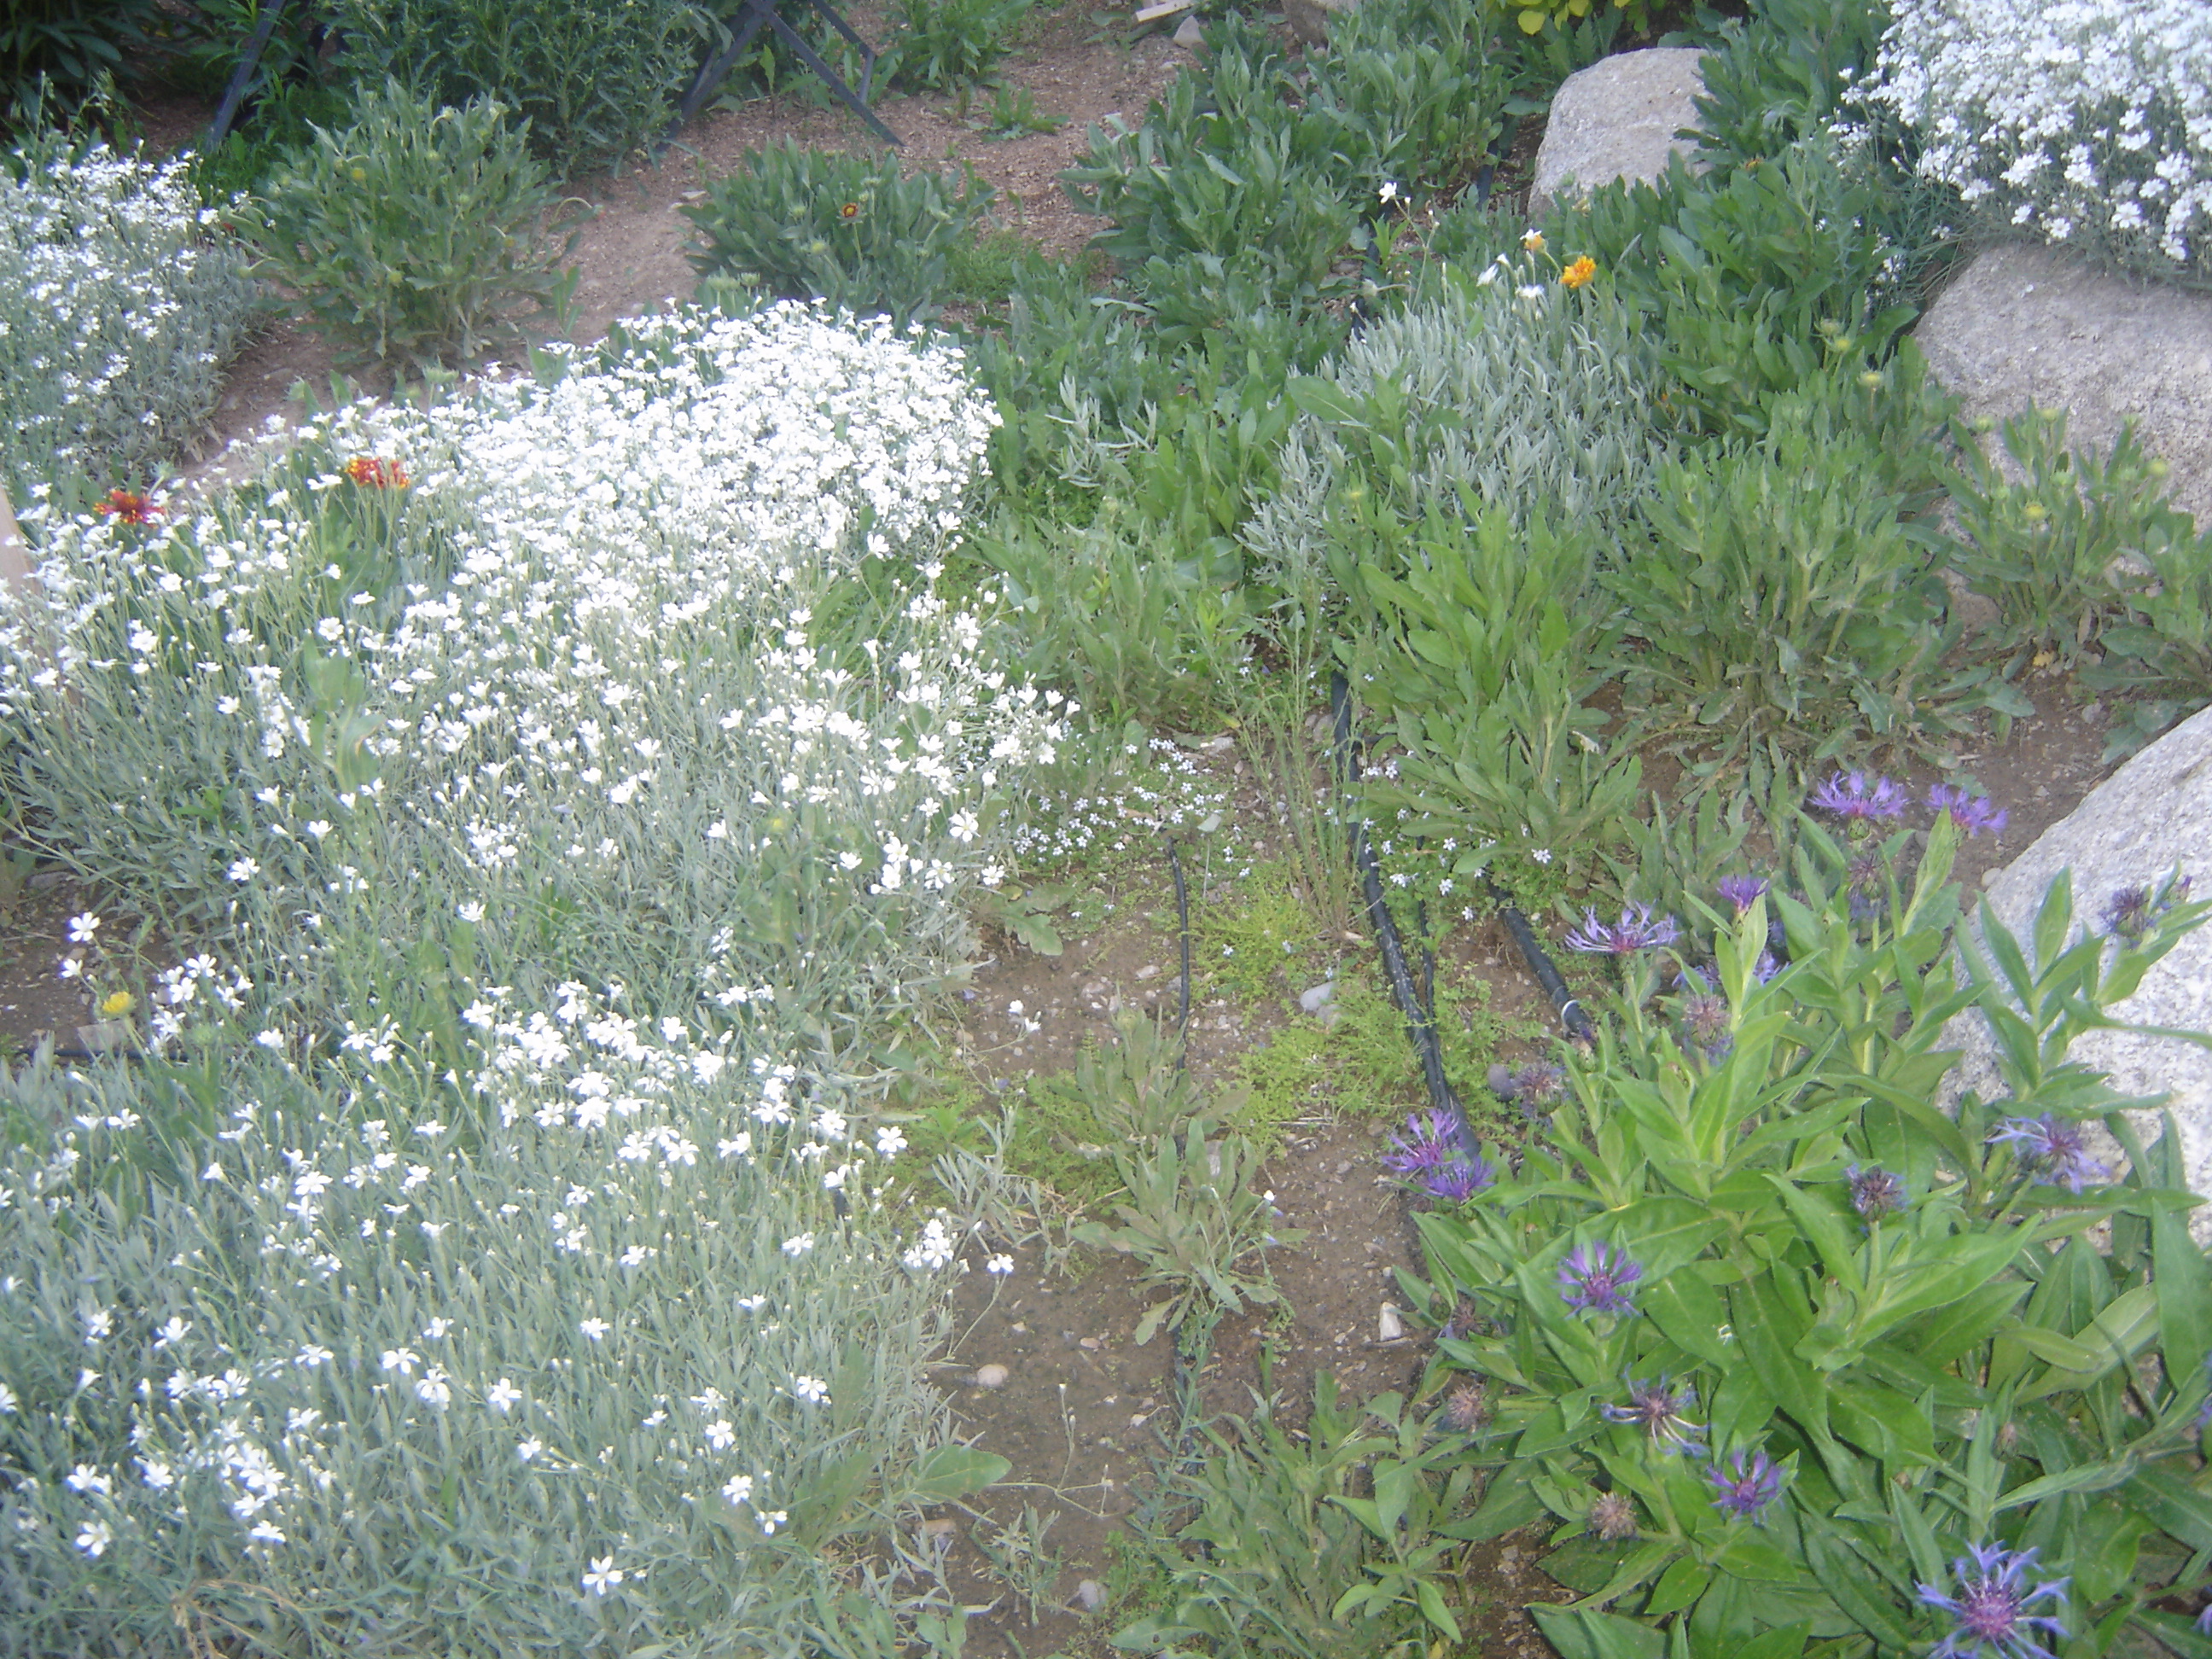
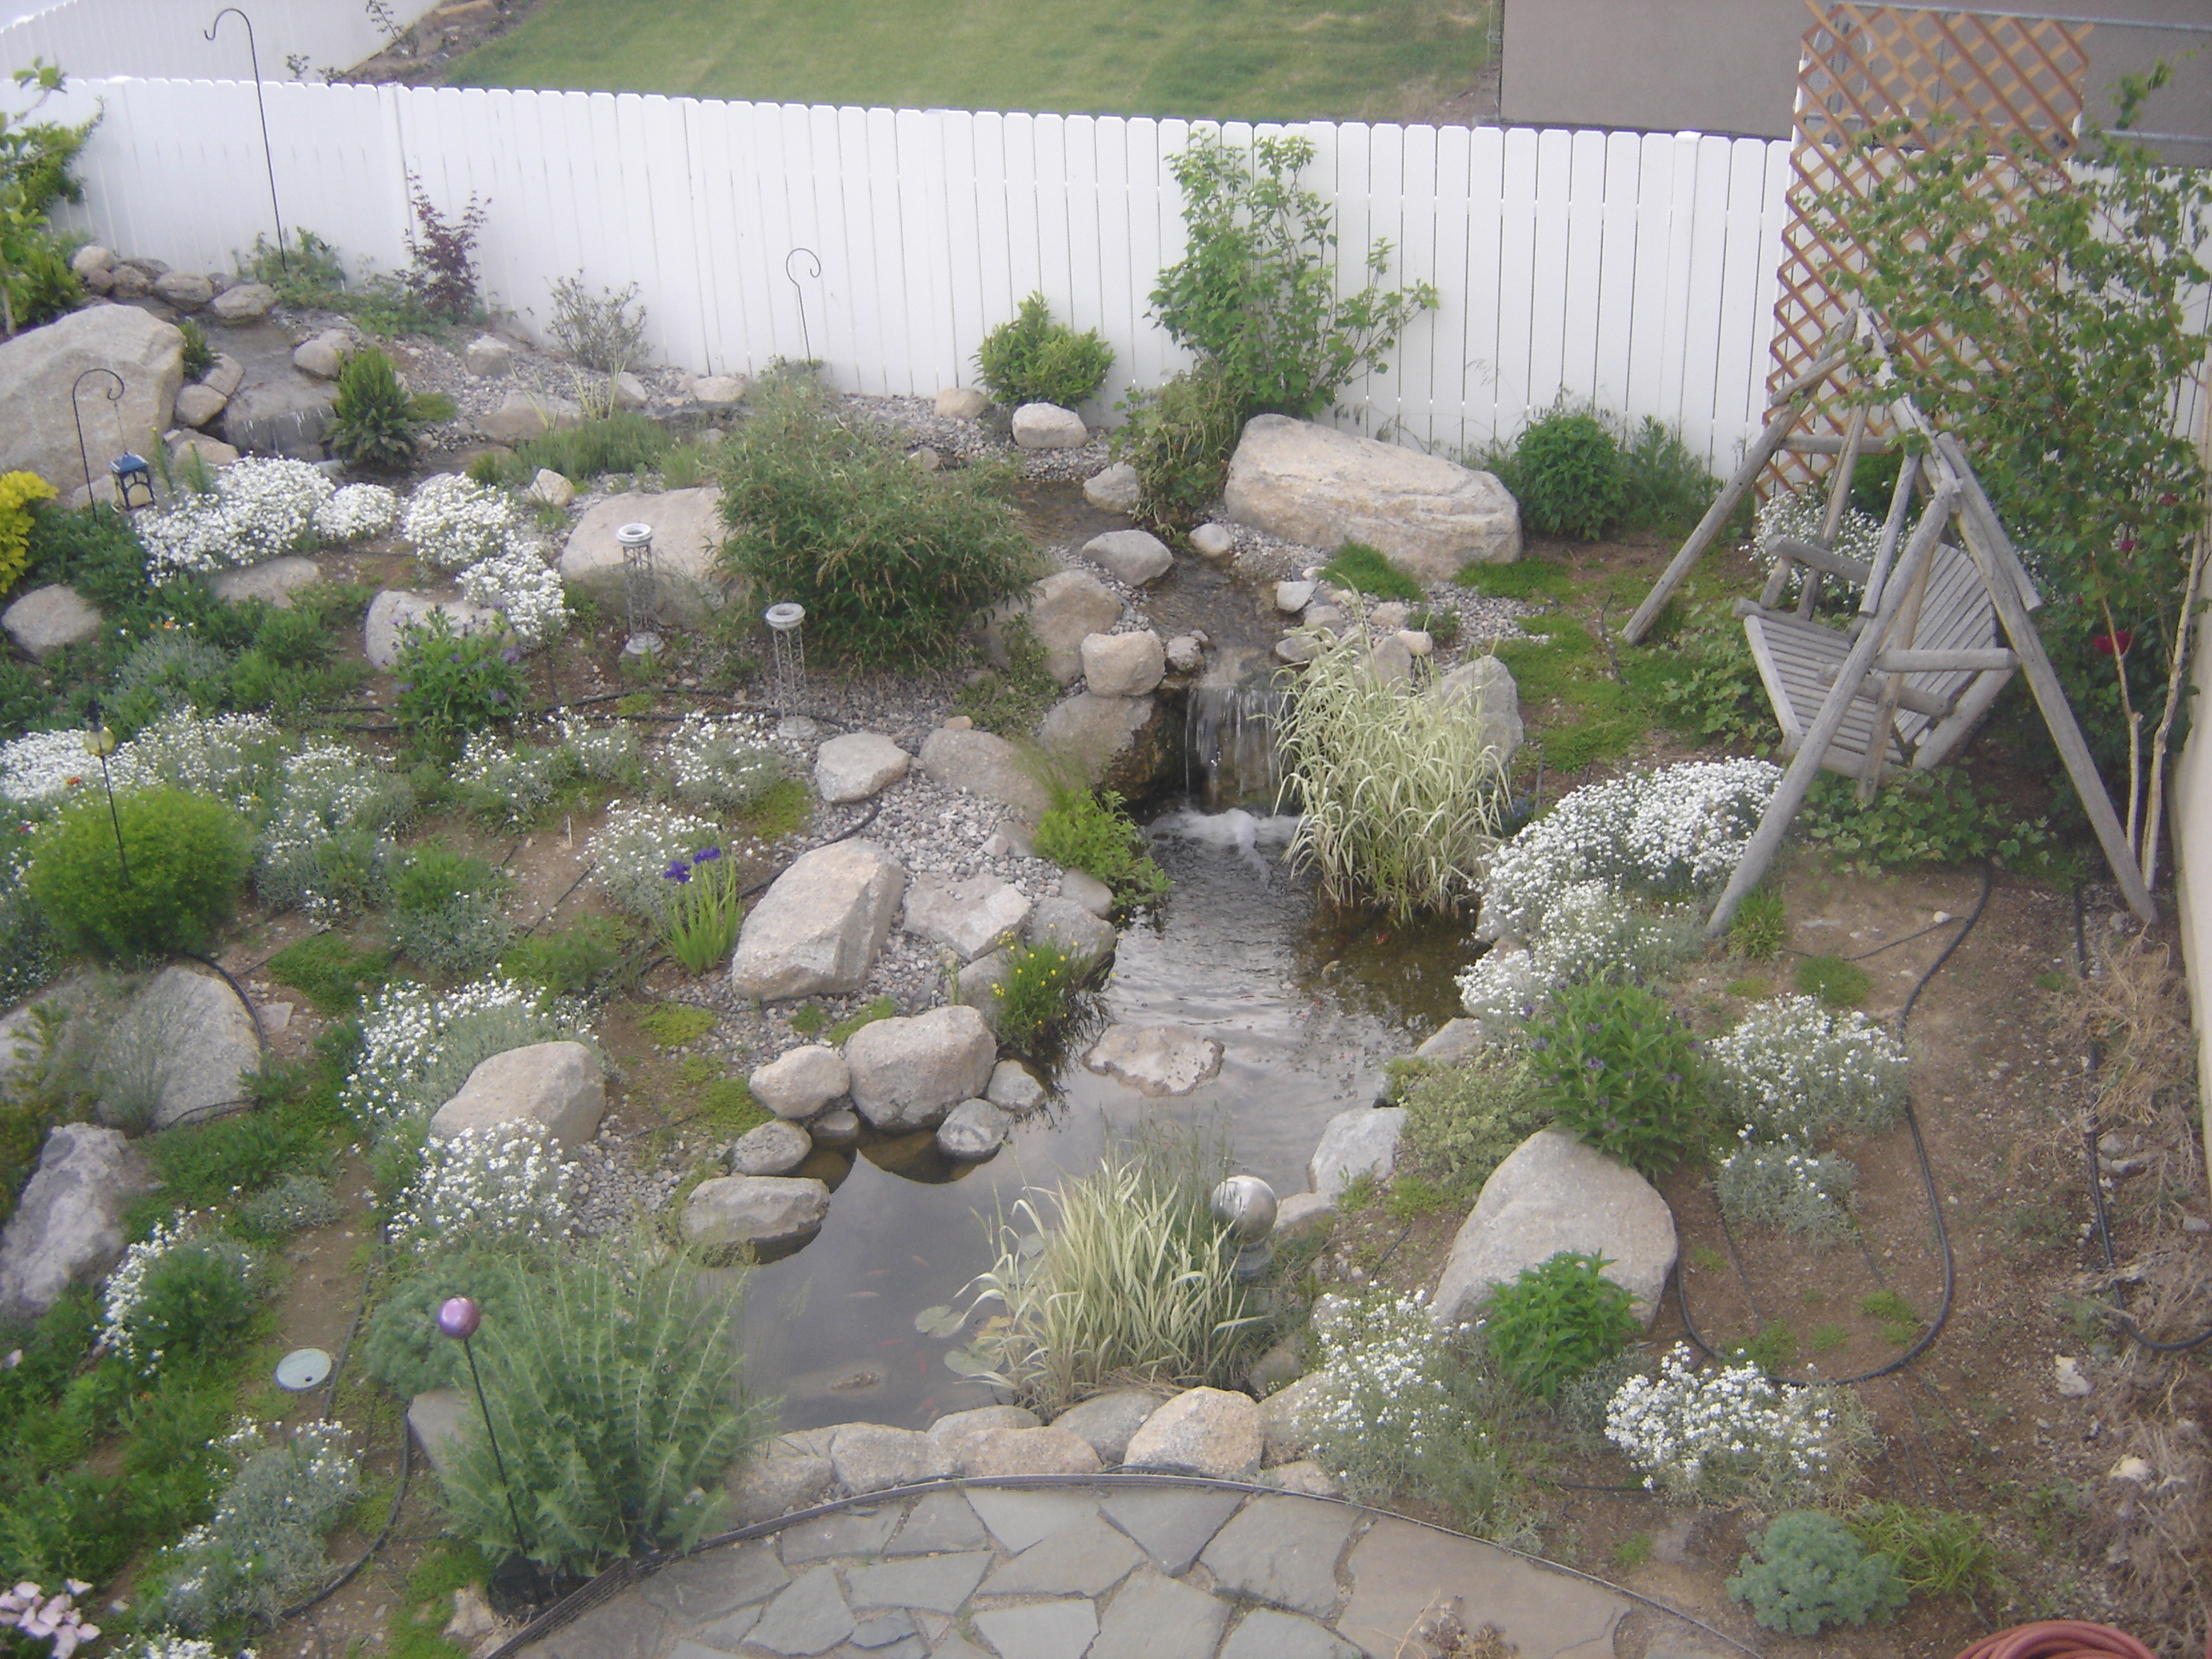
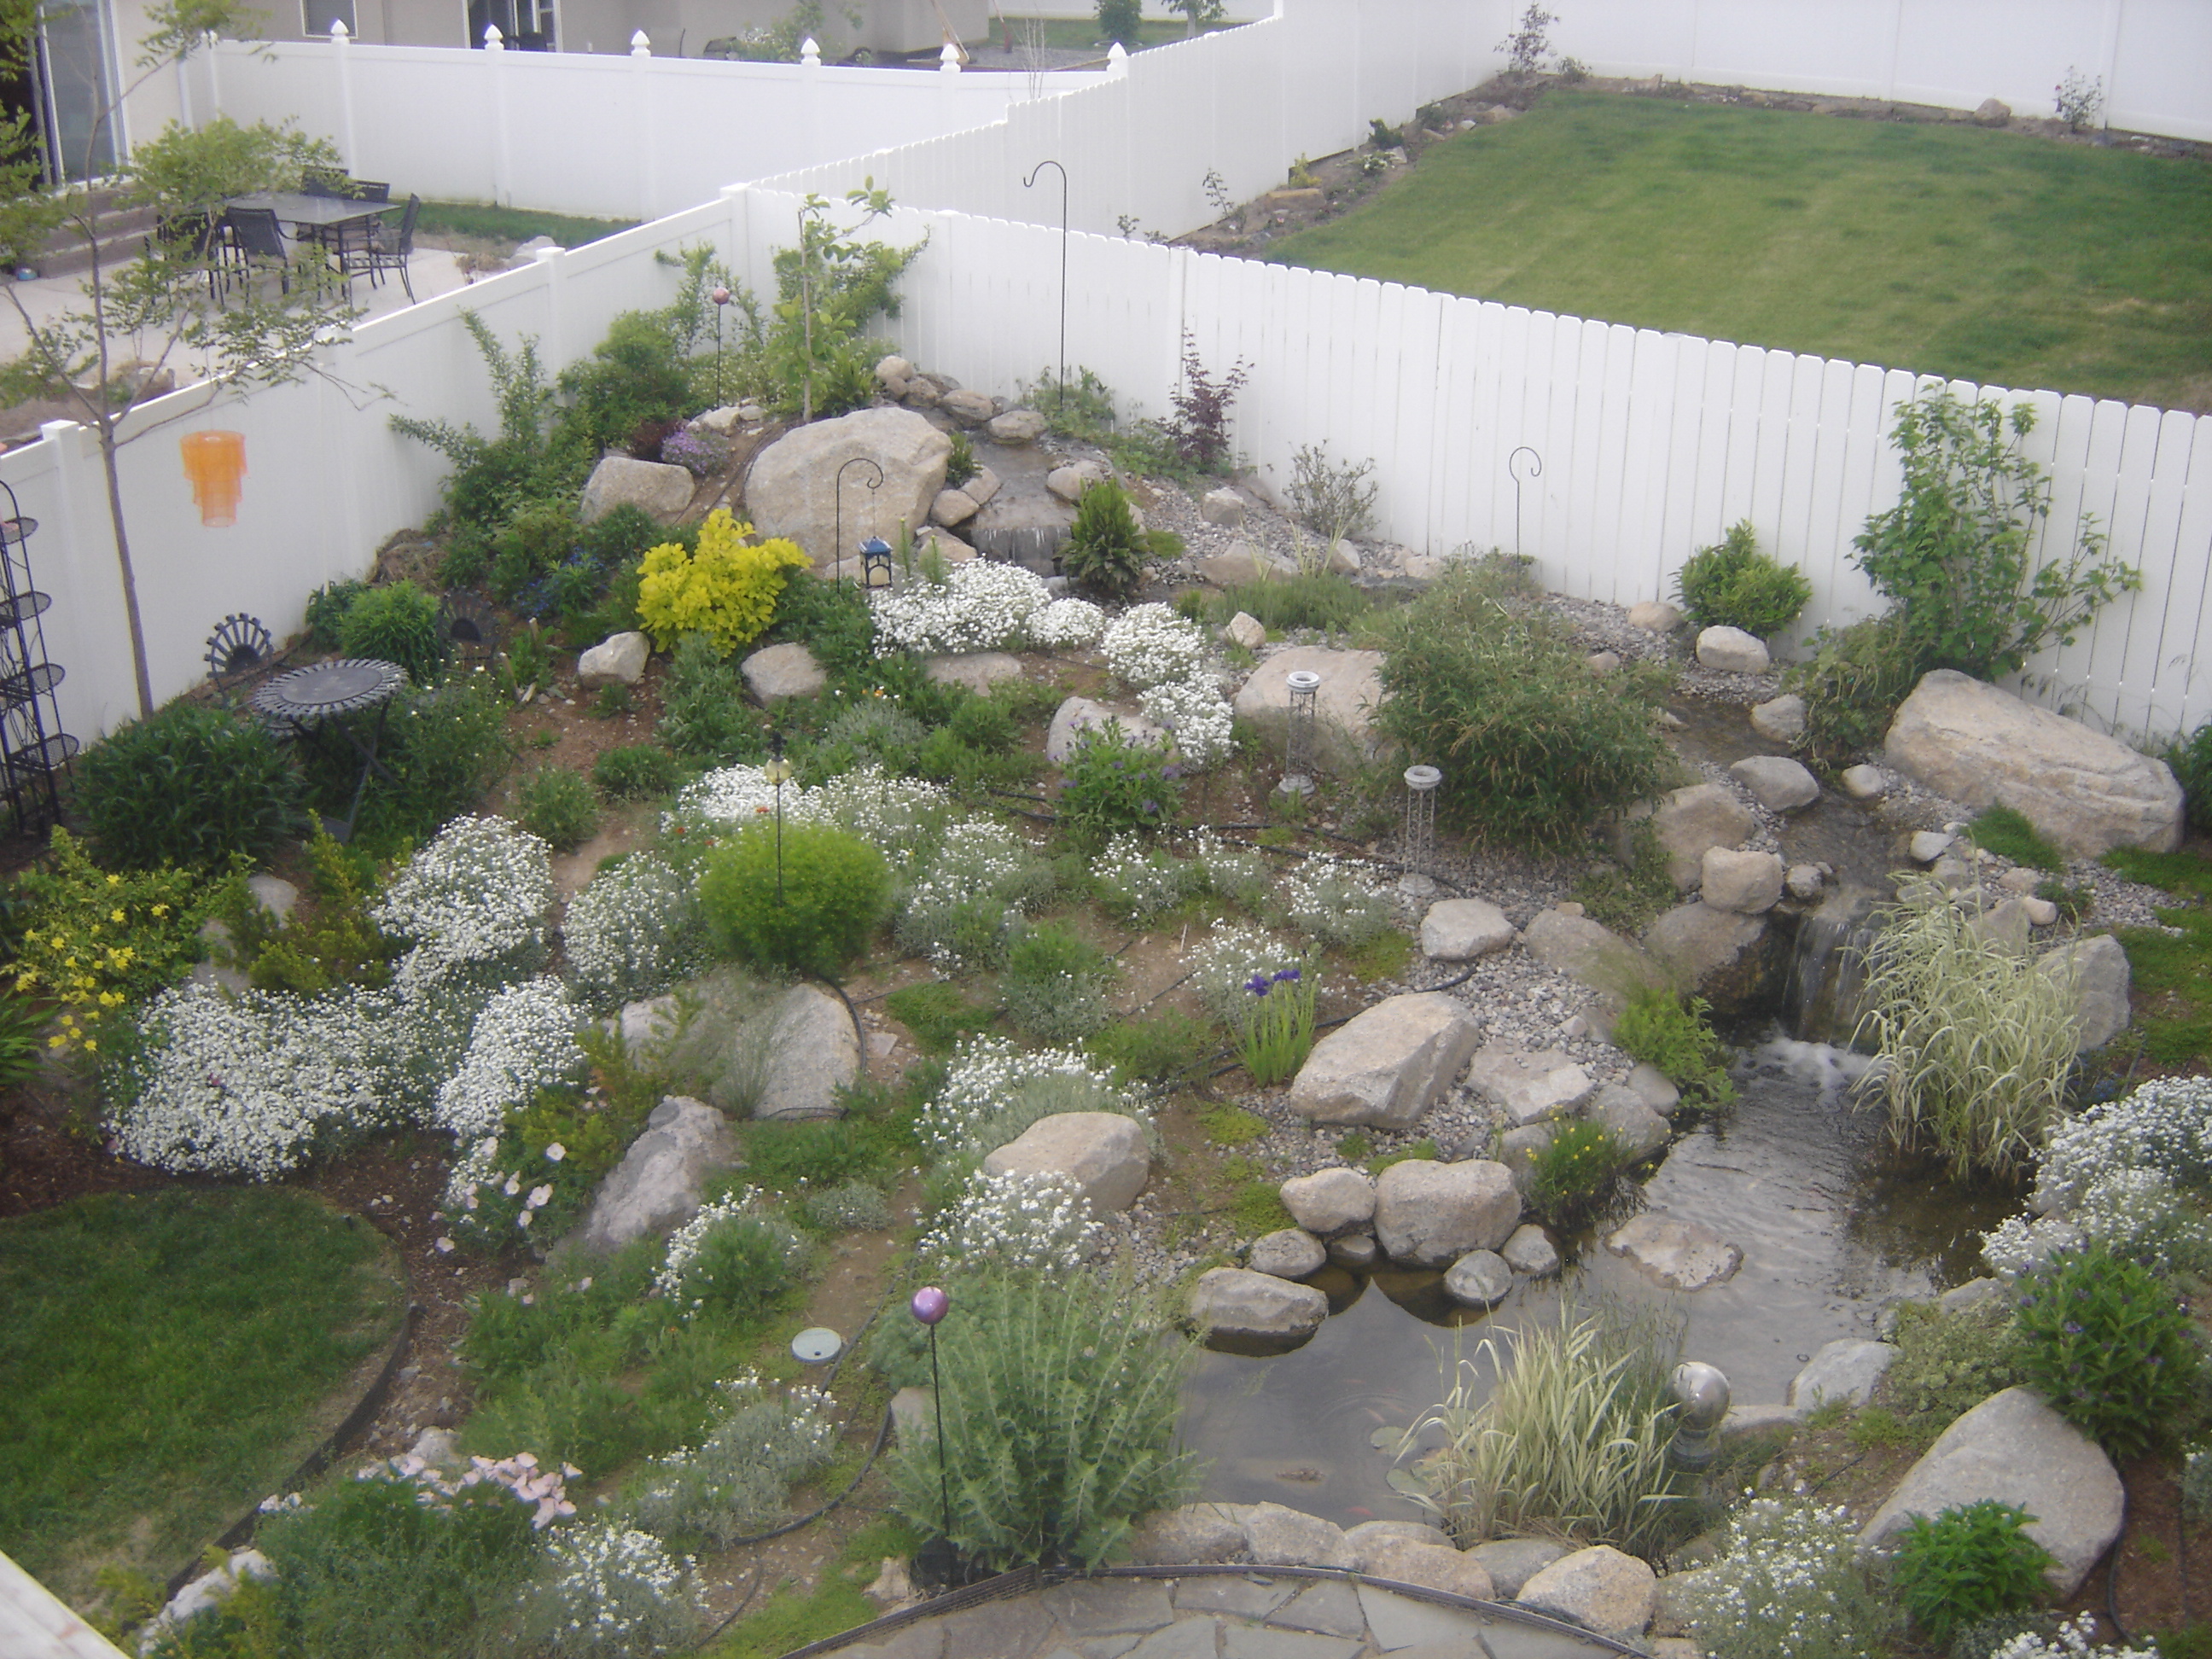
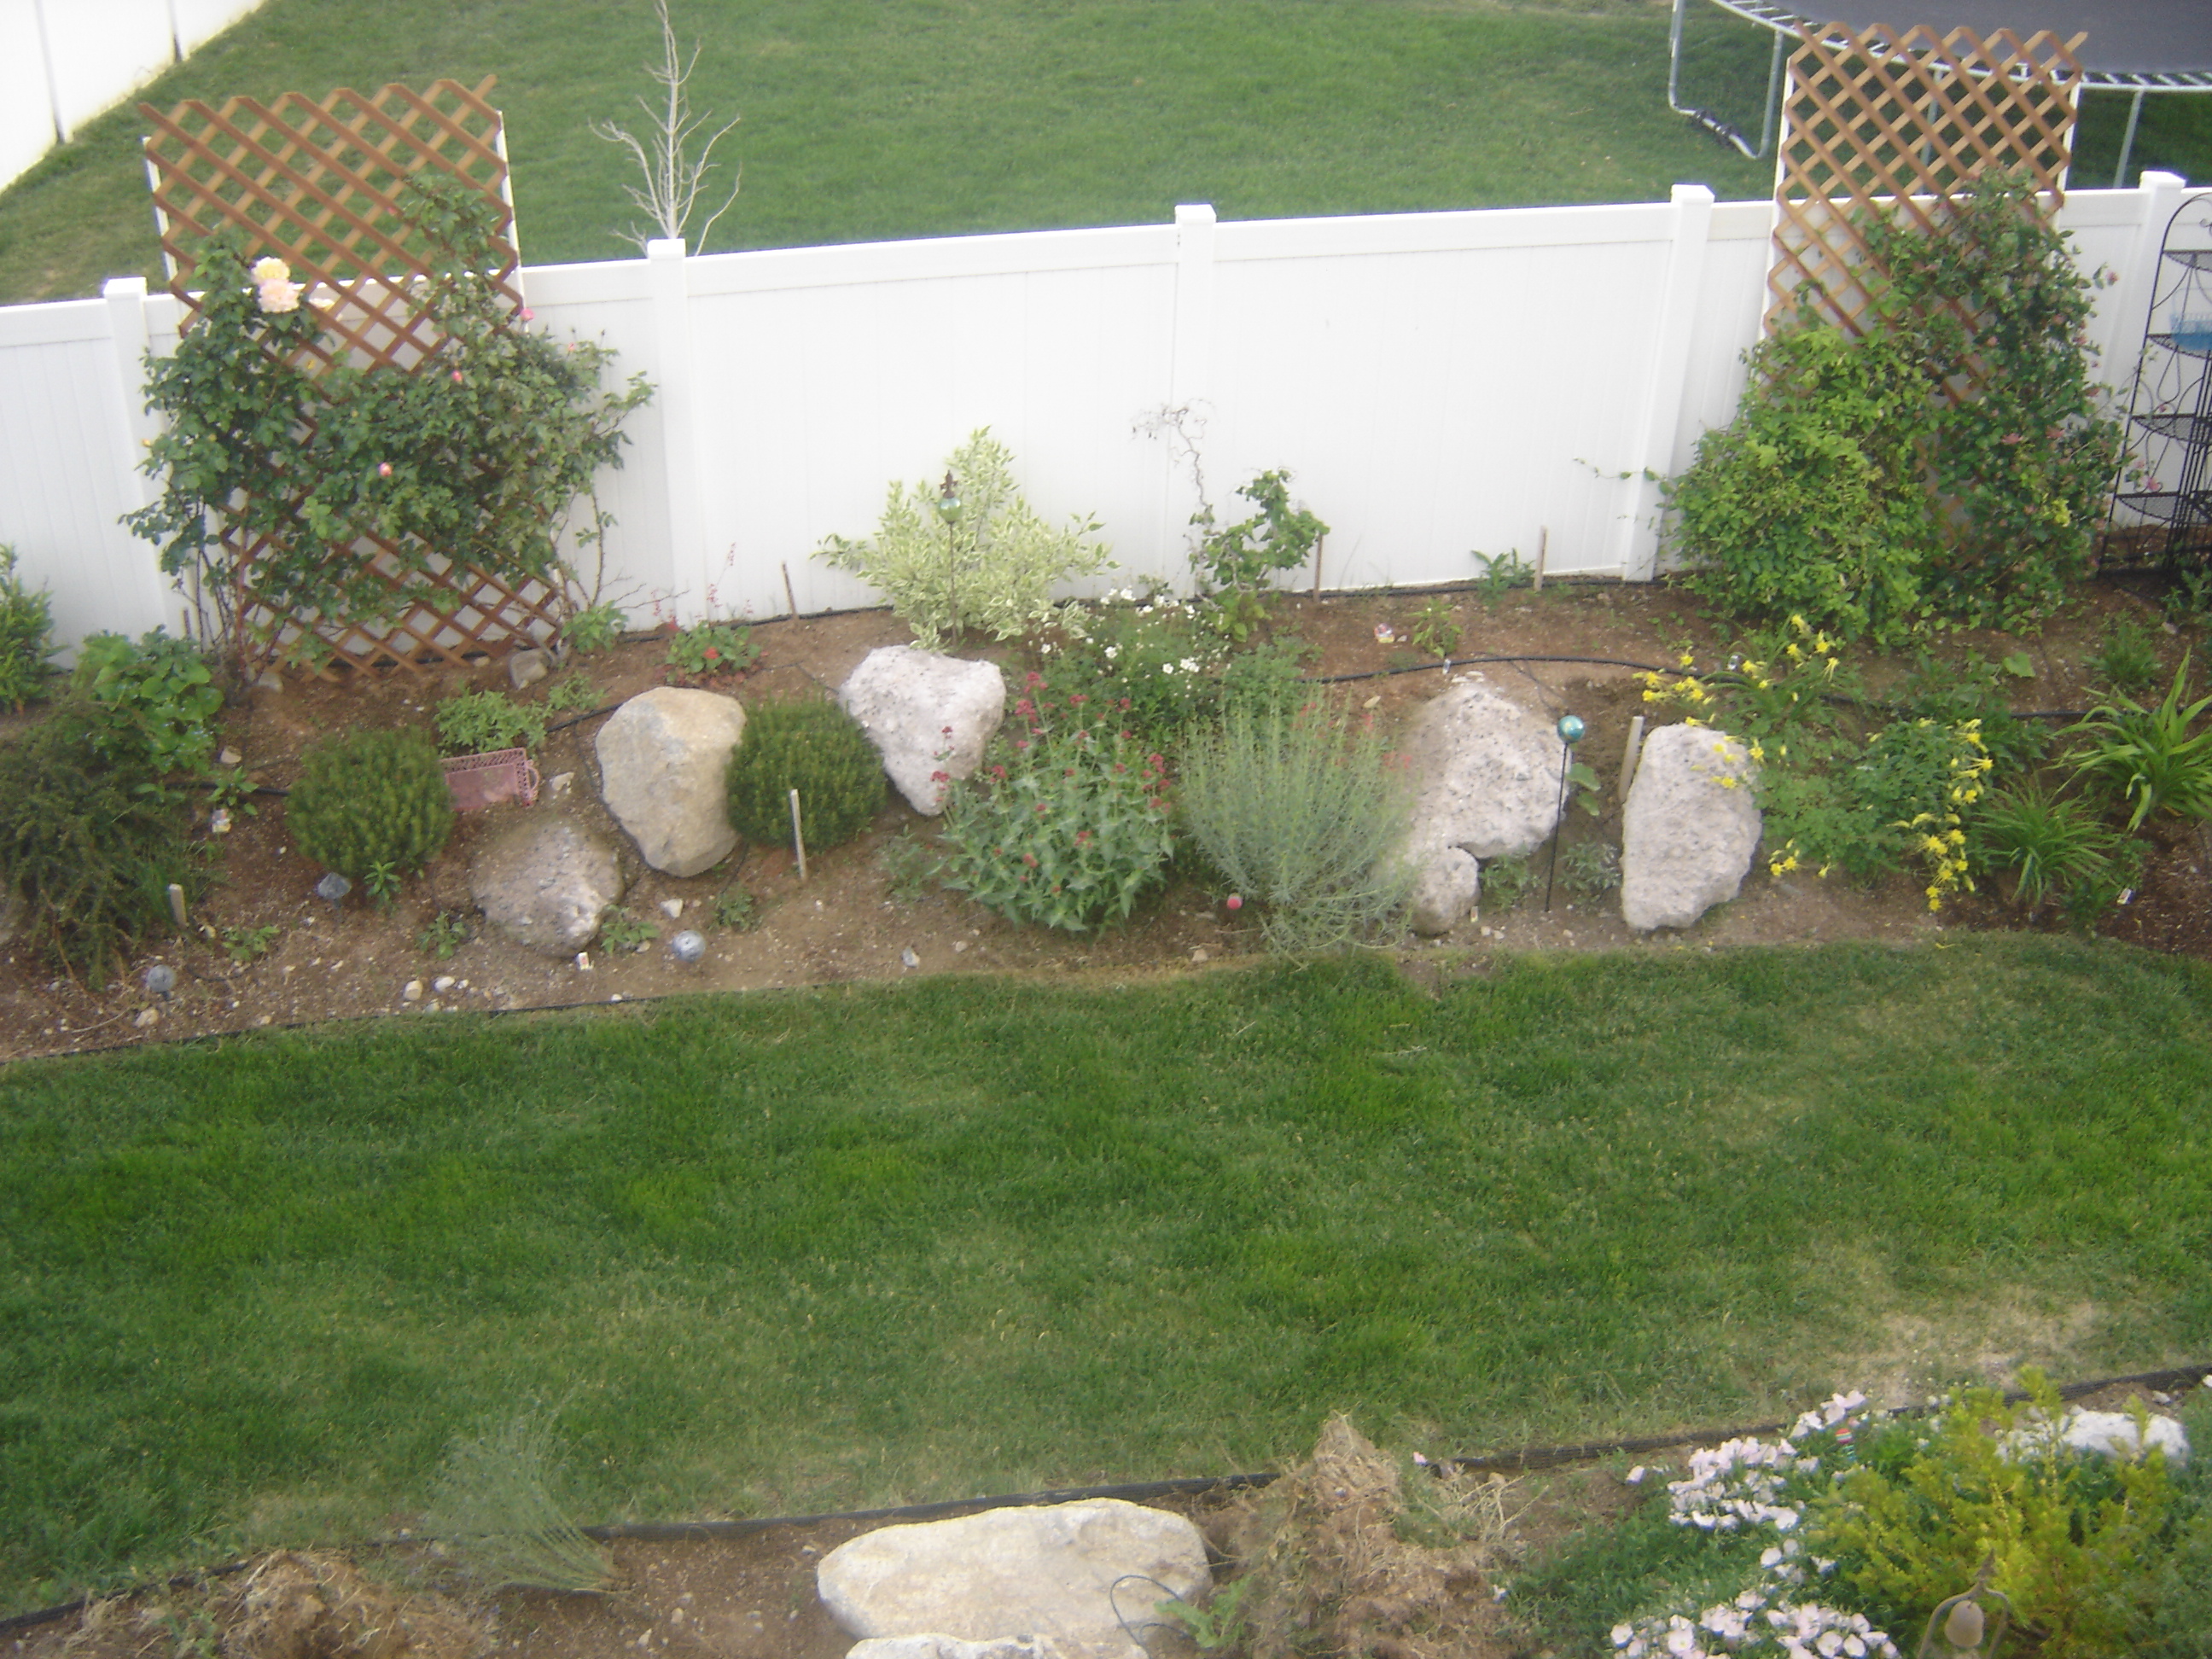
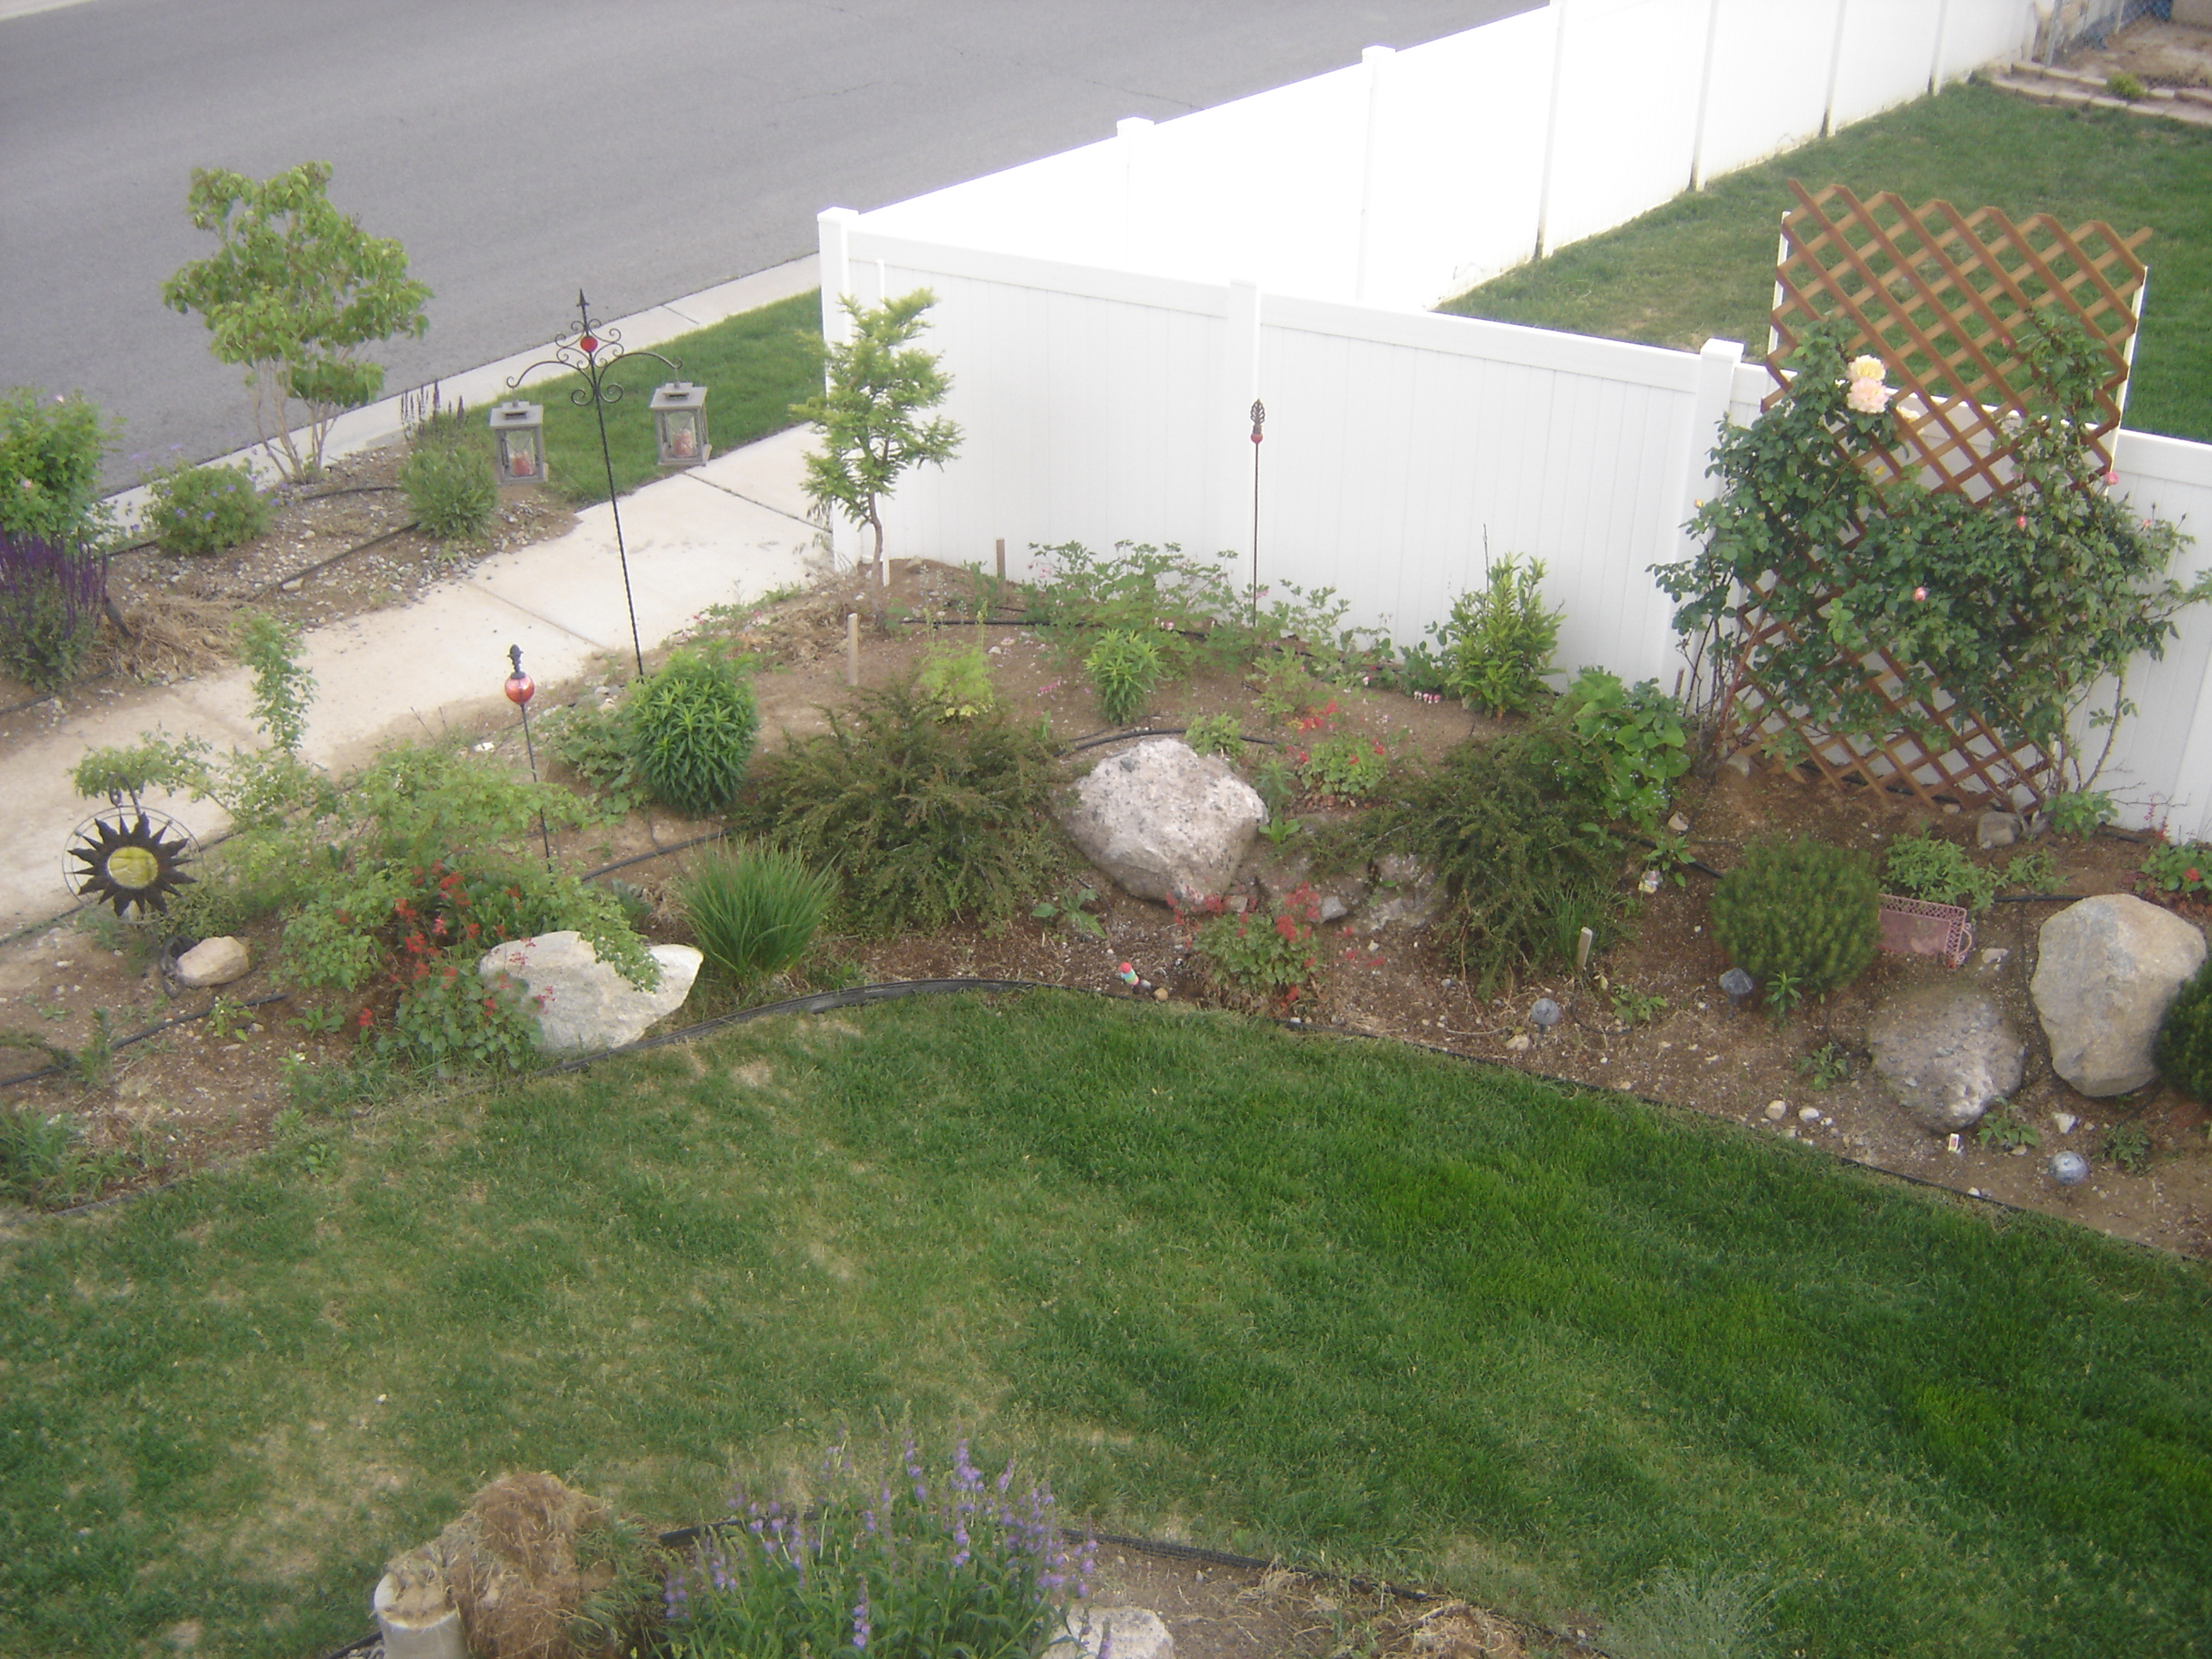
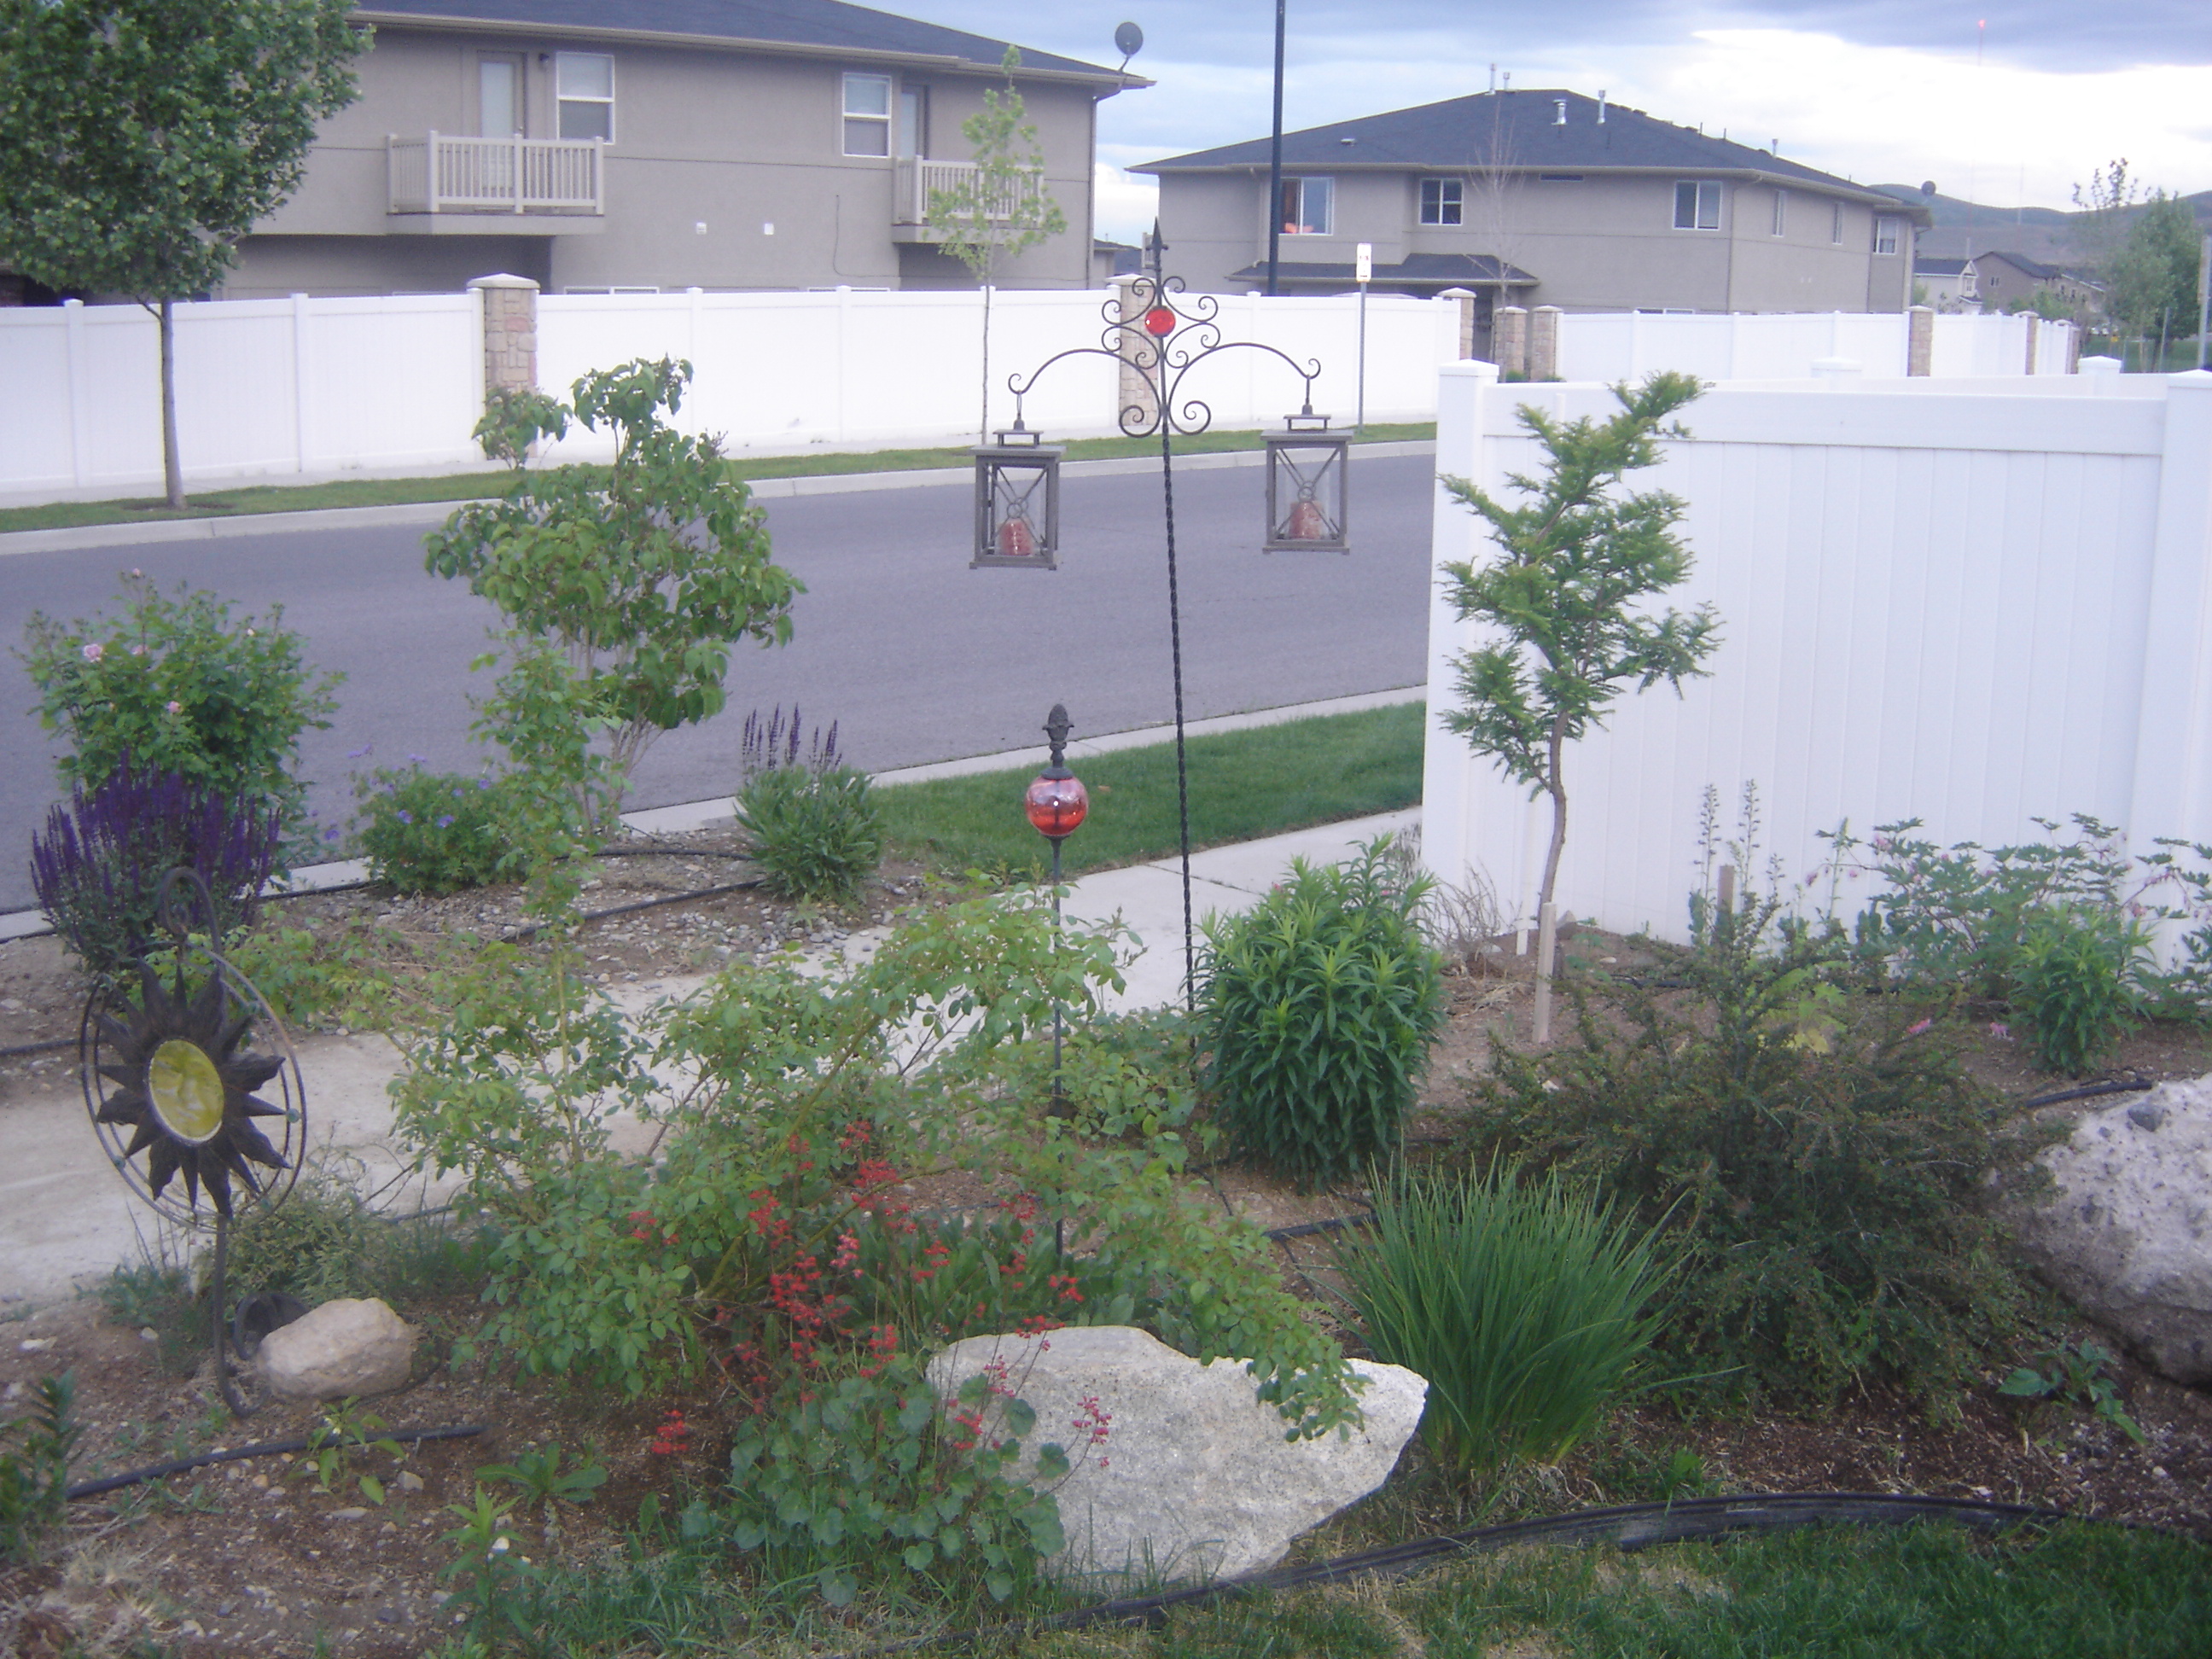
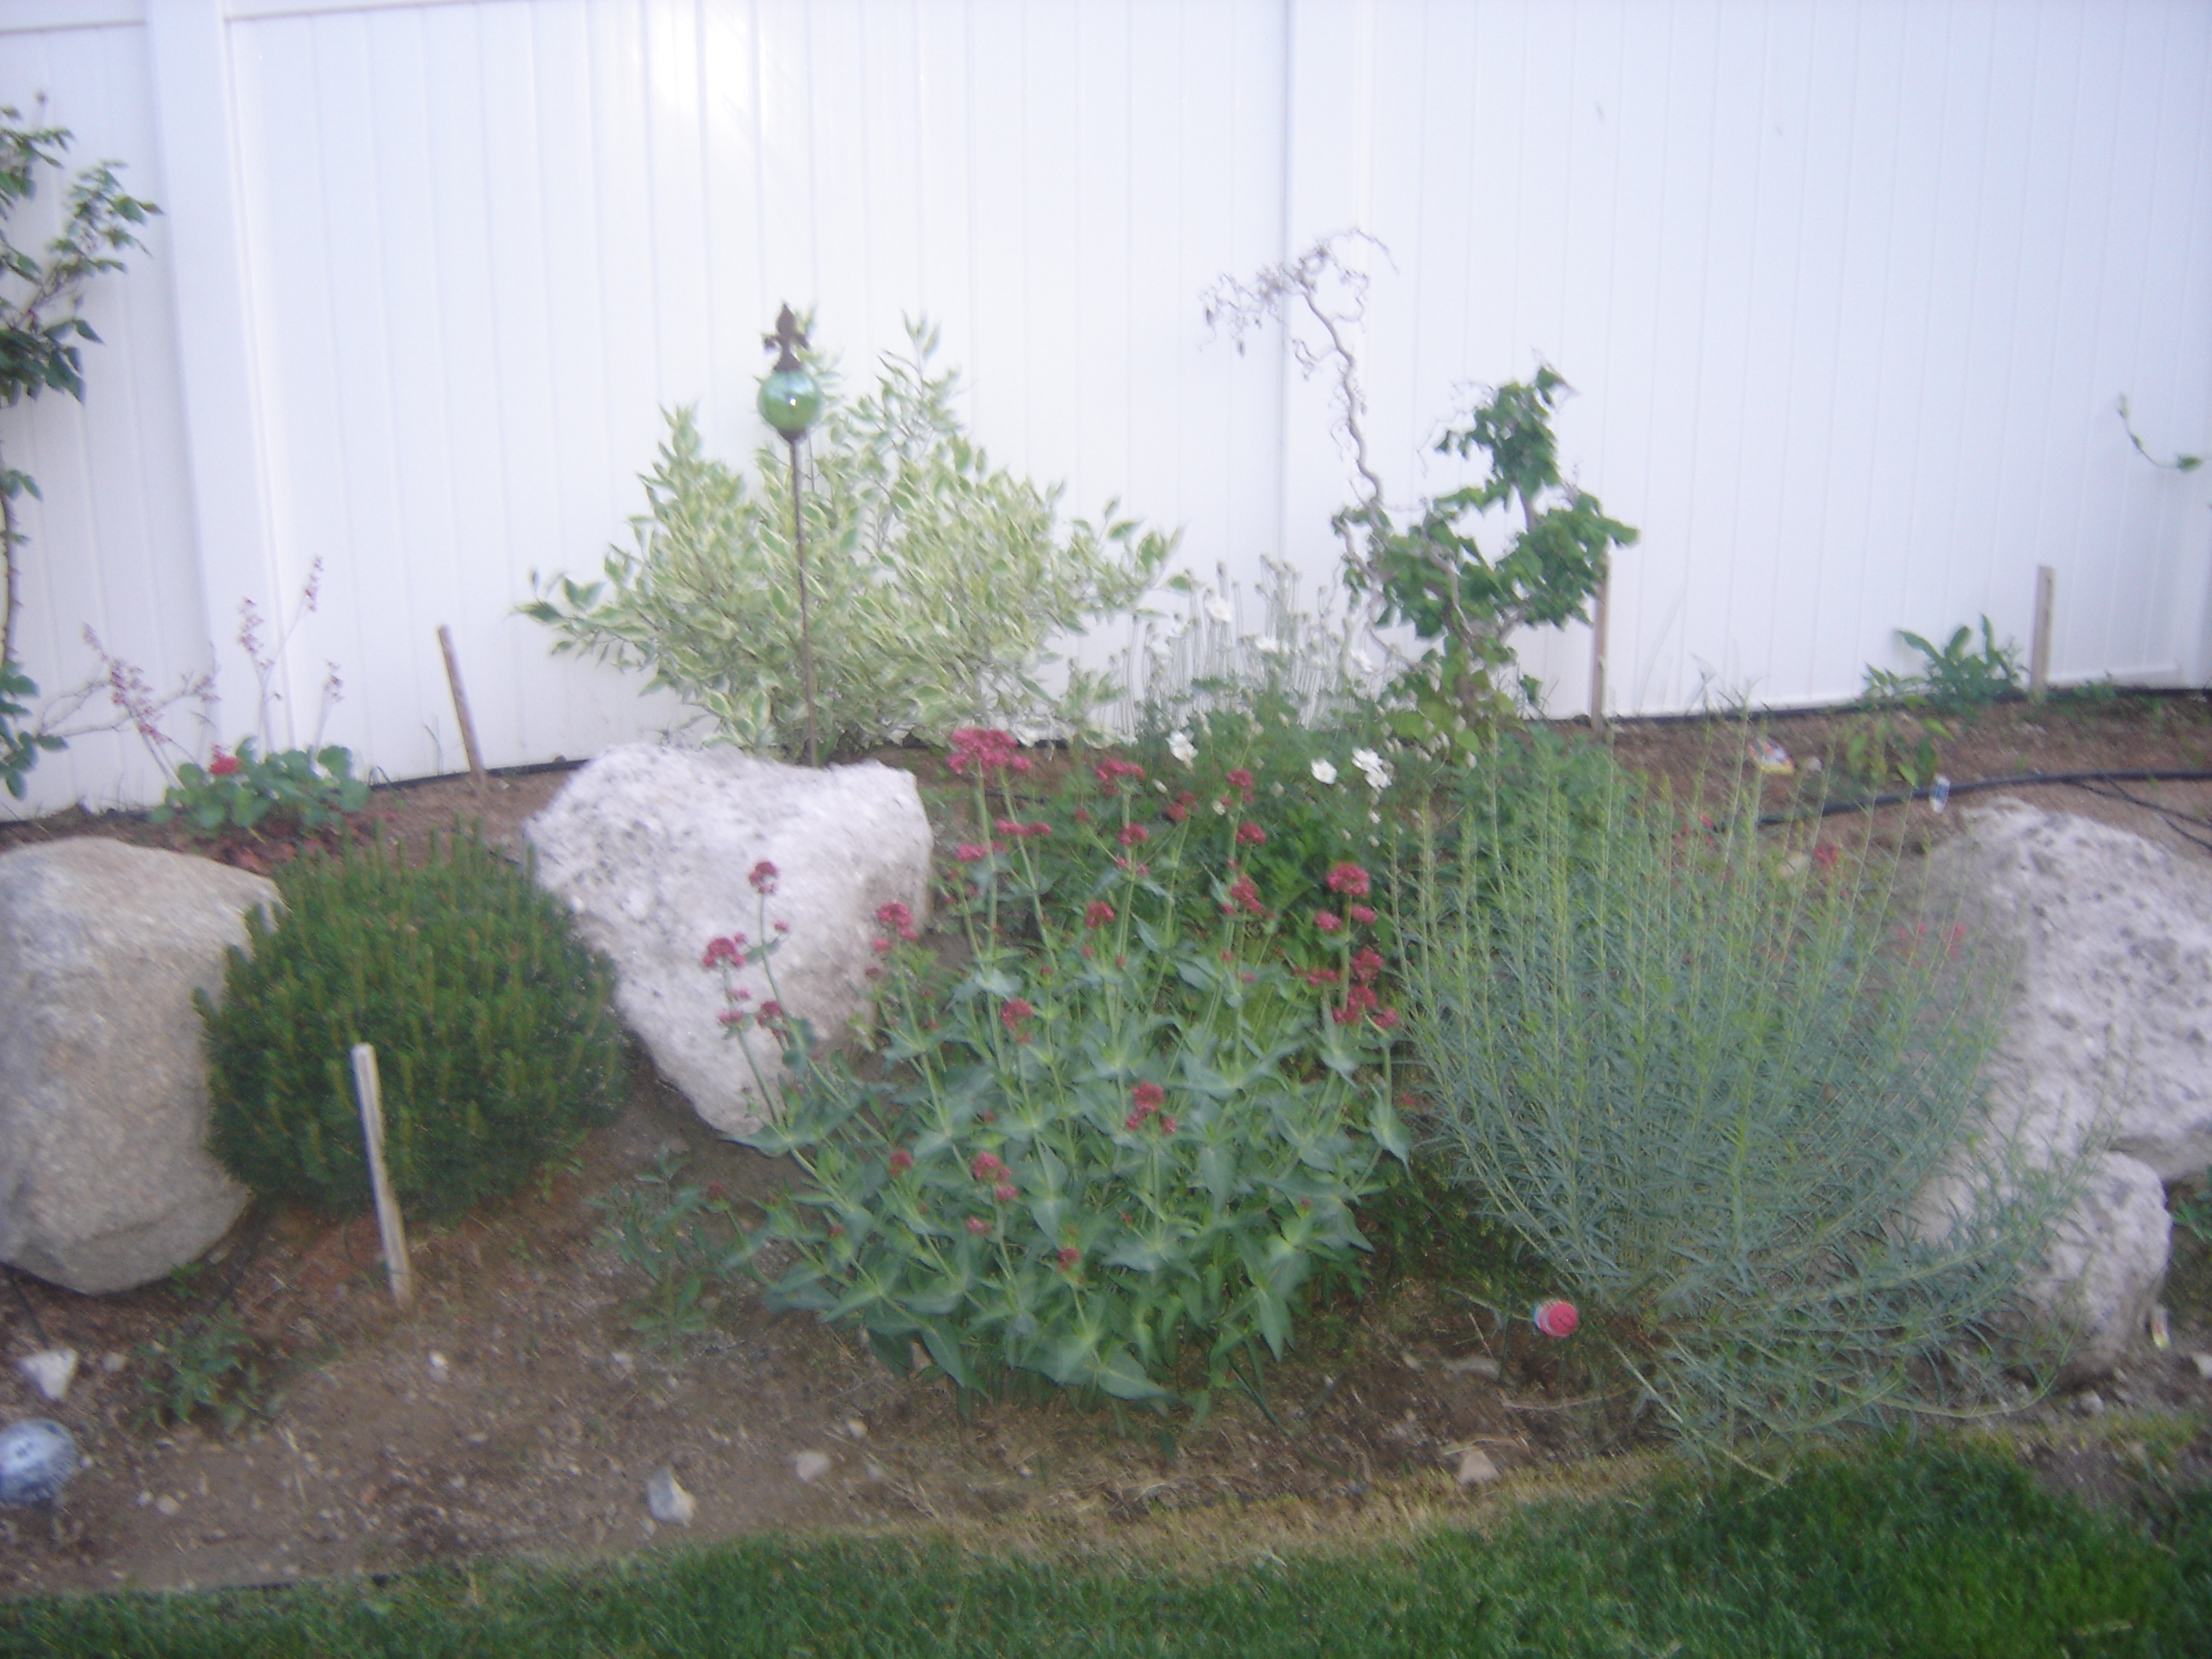
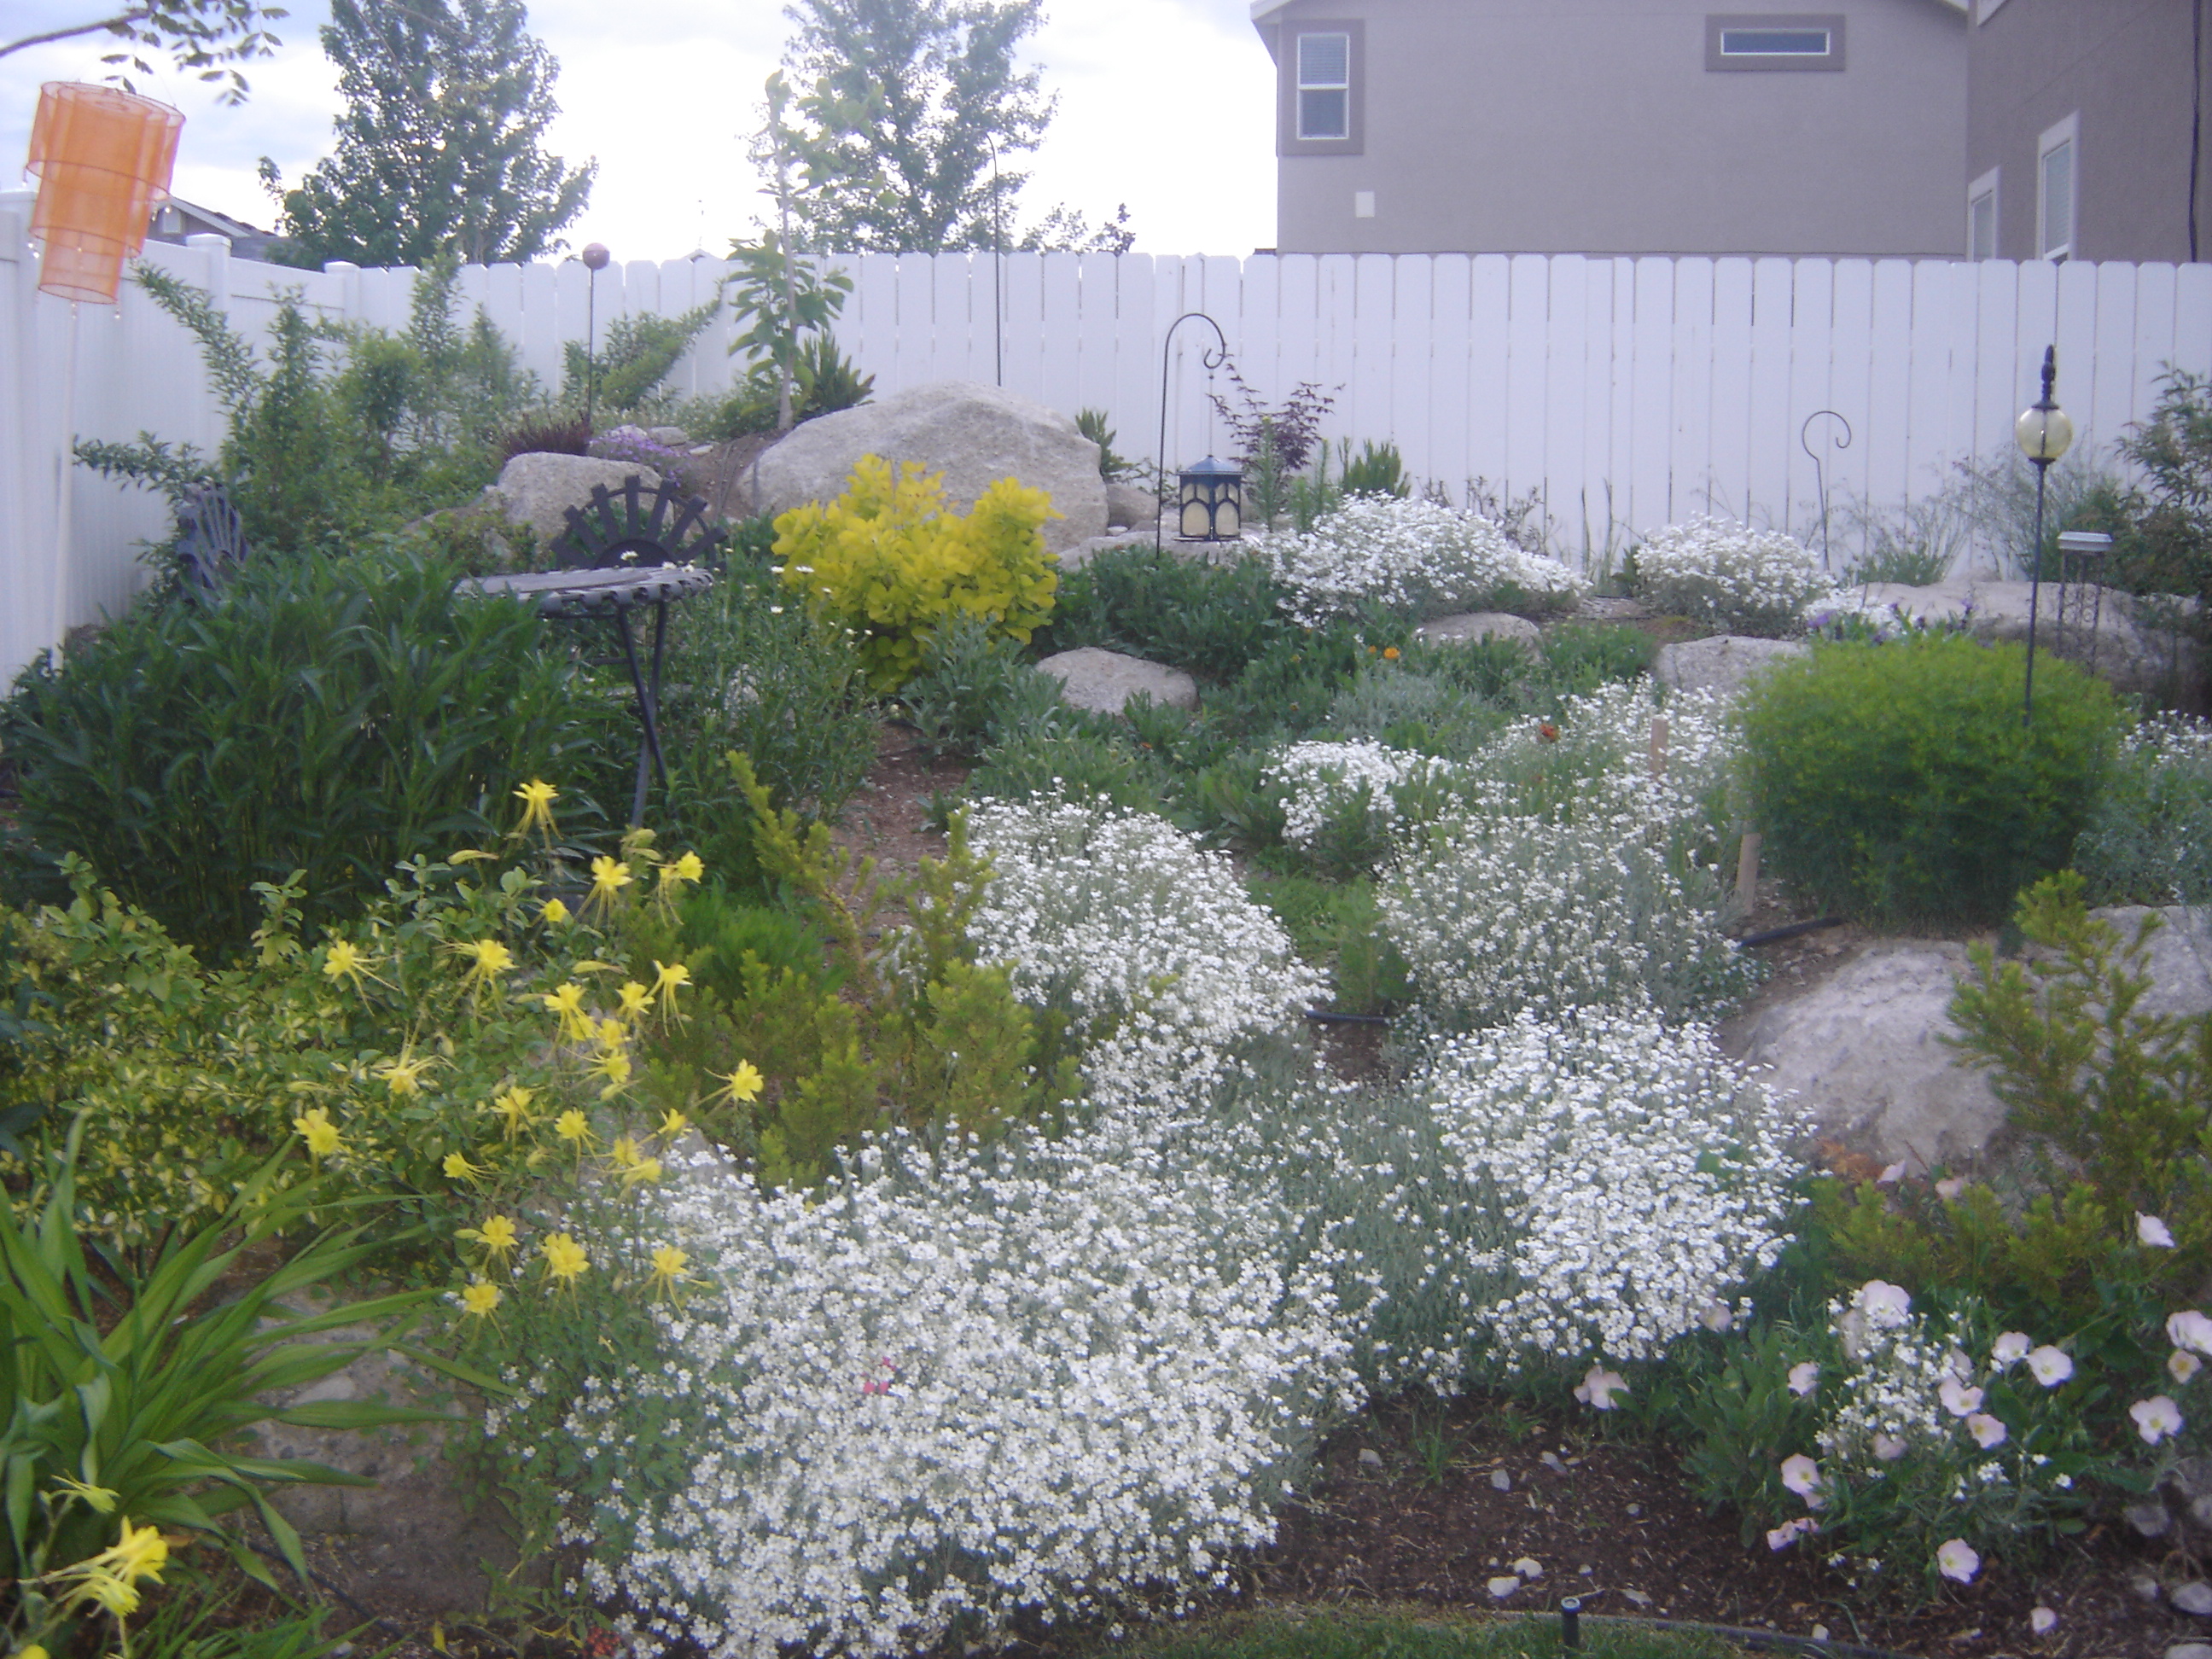
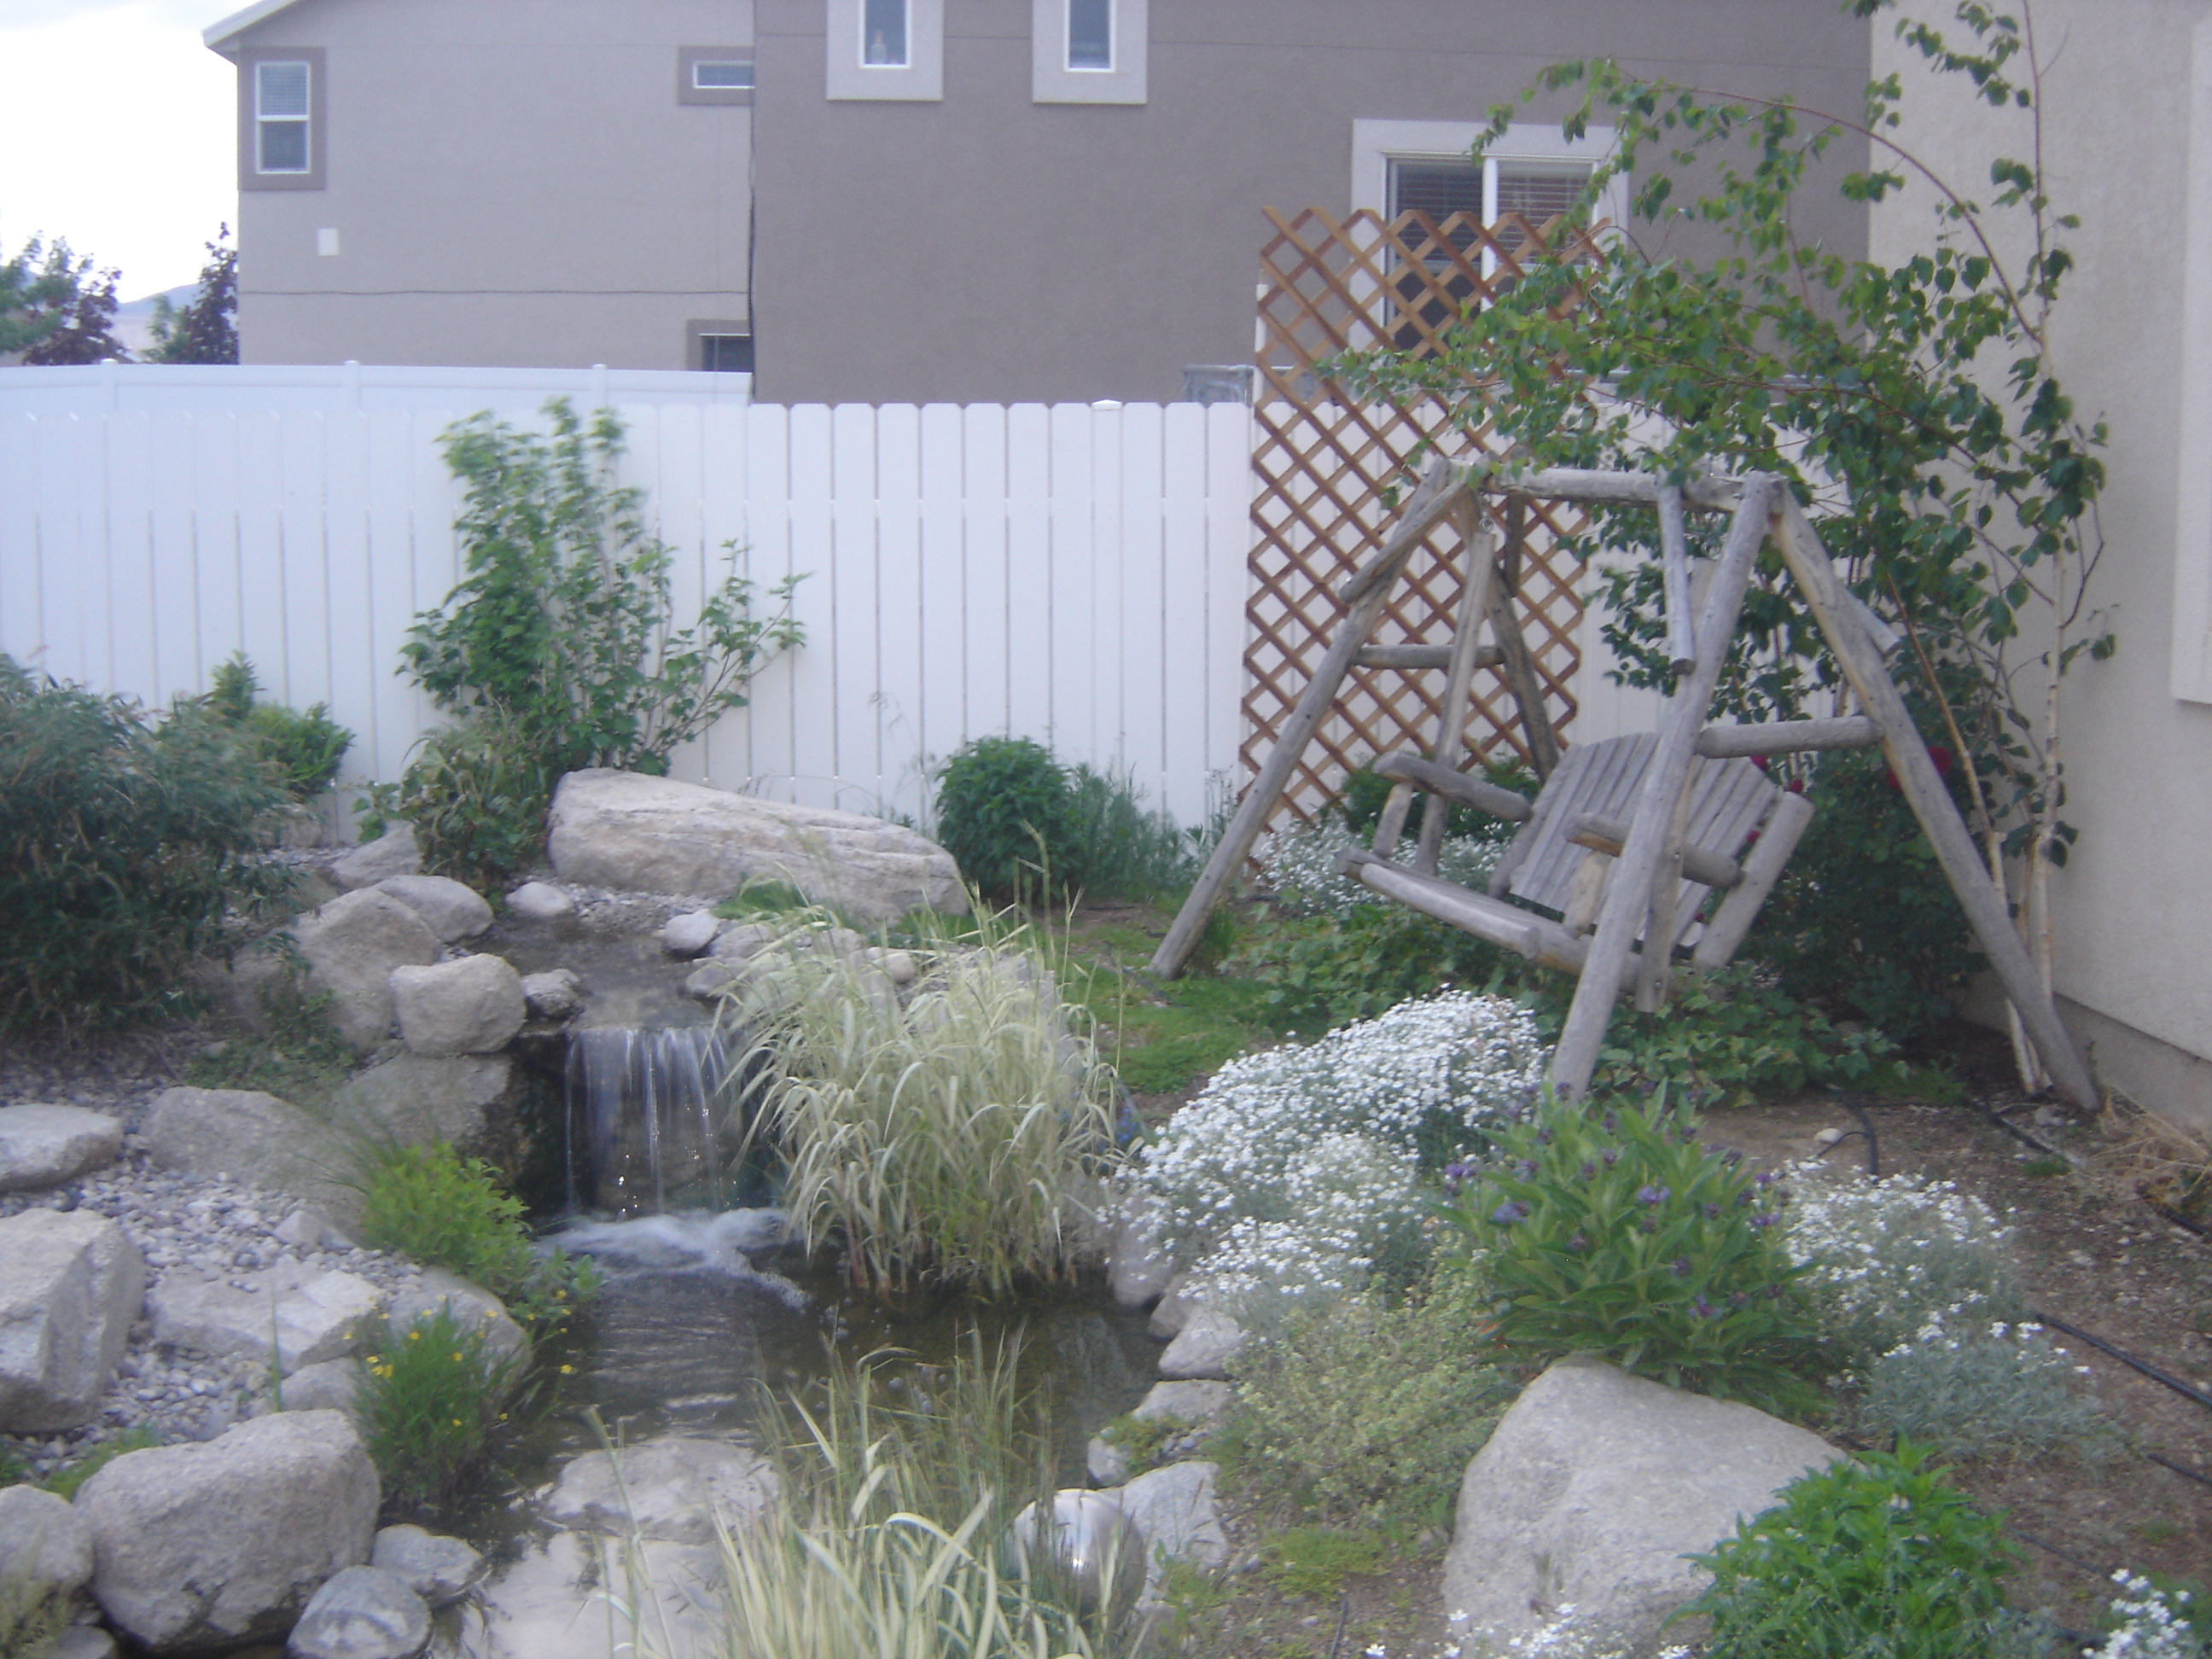
The Allen Residence is a flower bed and Outdoor Dining Room that I designed and installed in Hooper, UT and completed late in May 2009.

Allen Residence Design

bad-lawn-003Allen Residence Before Pictures
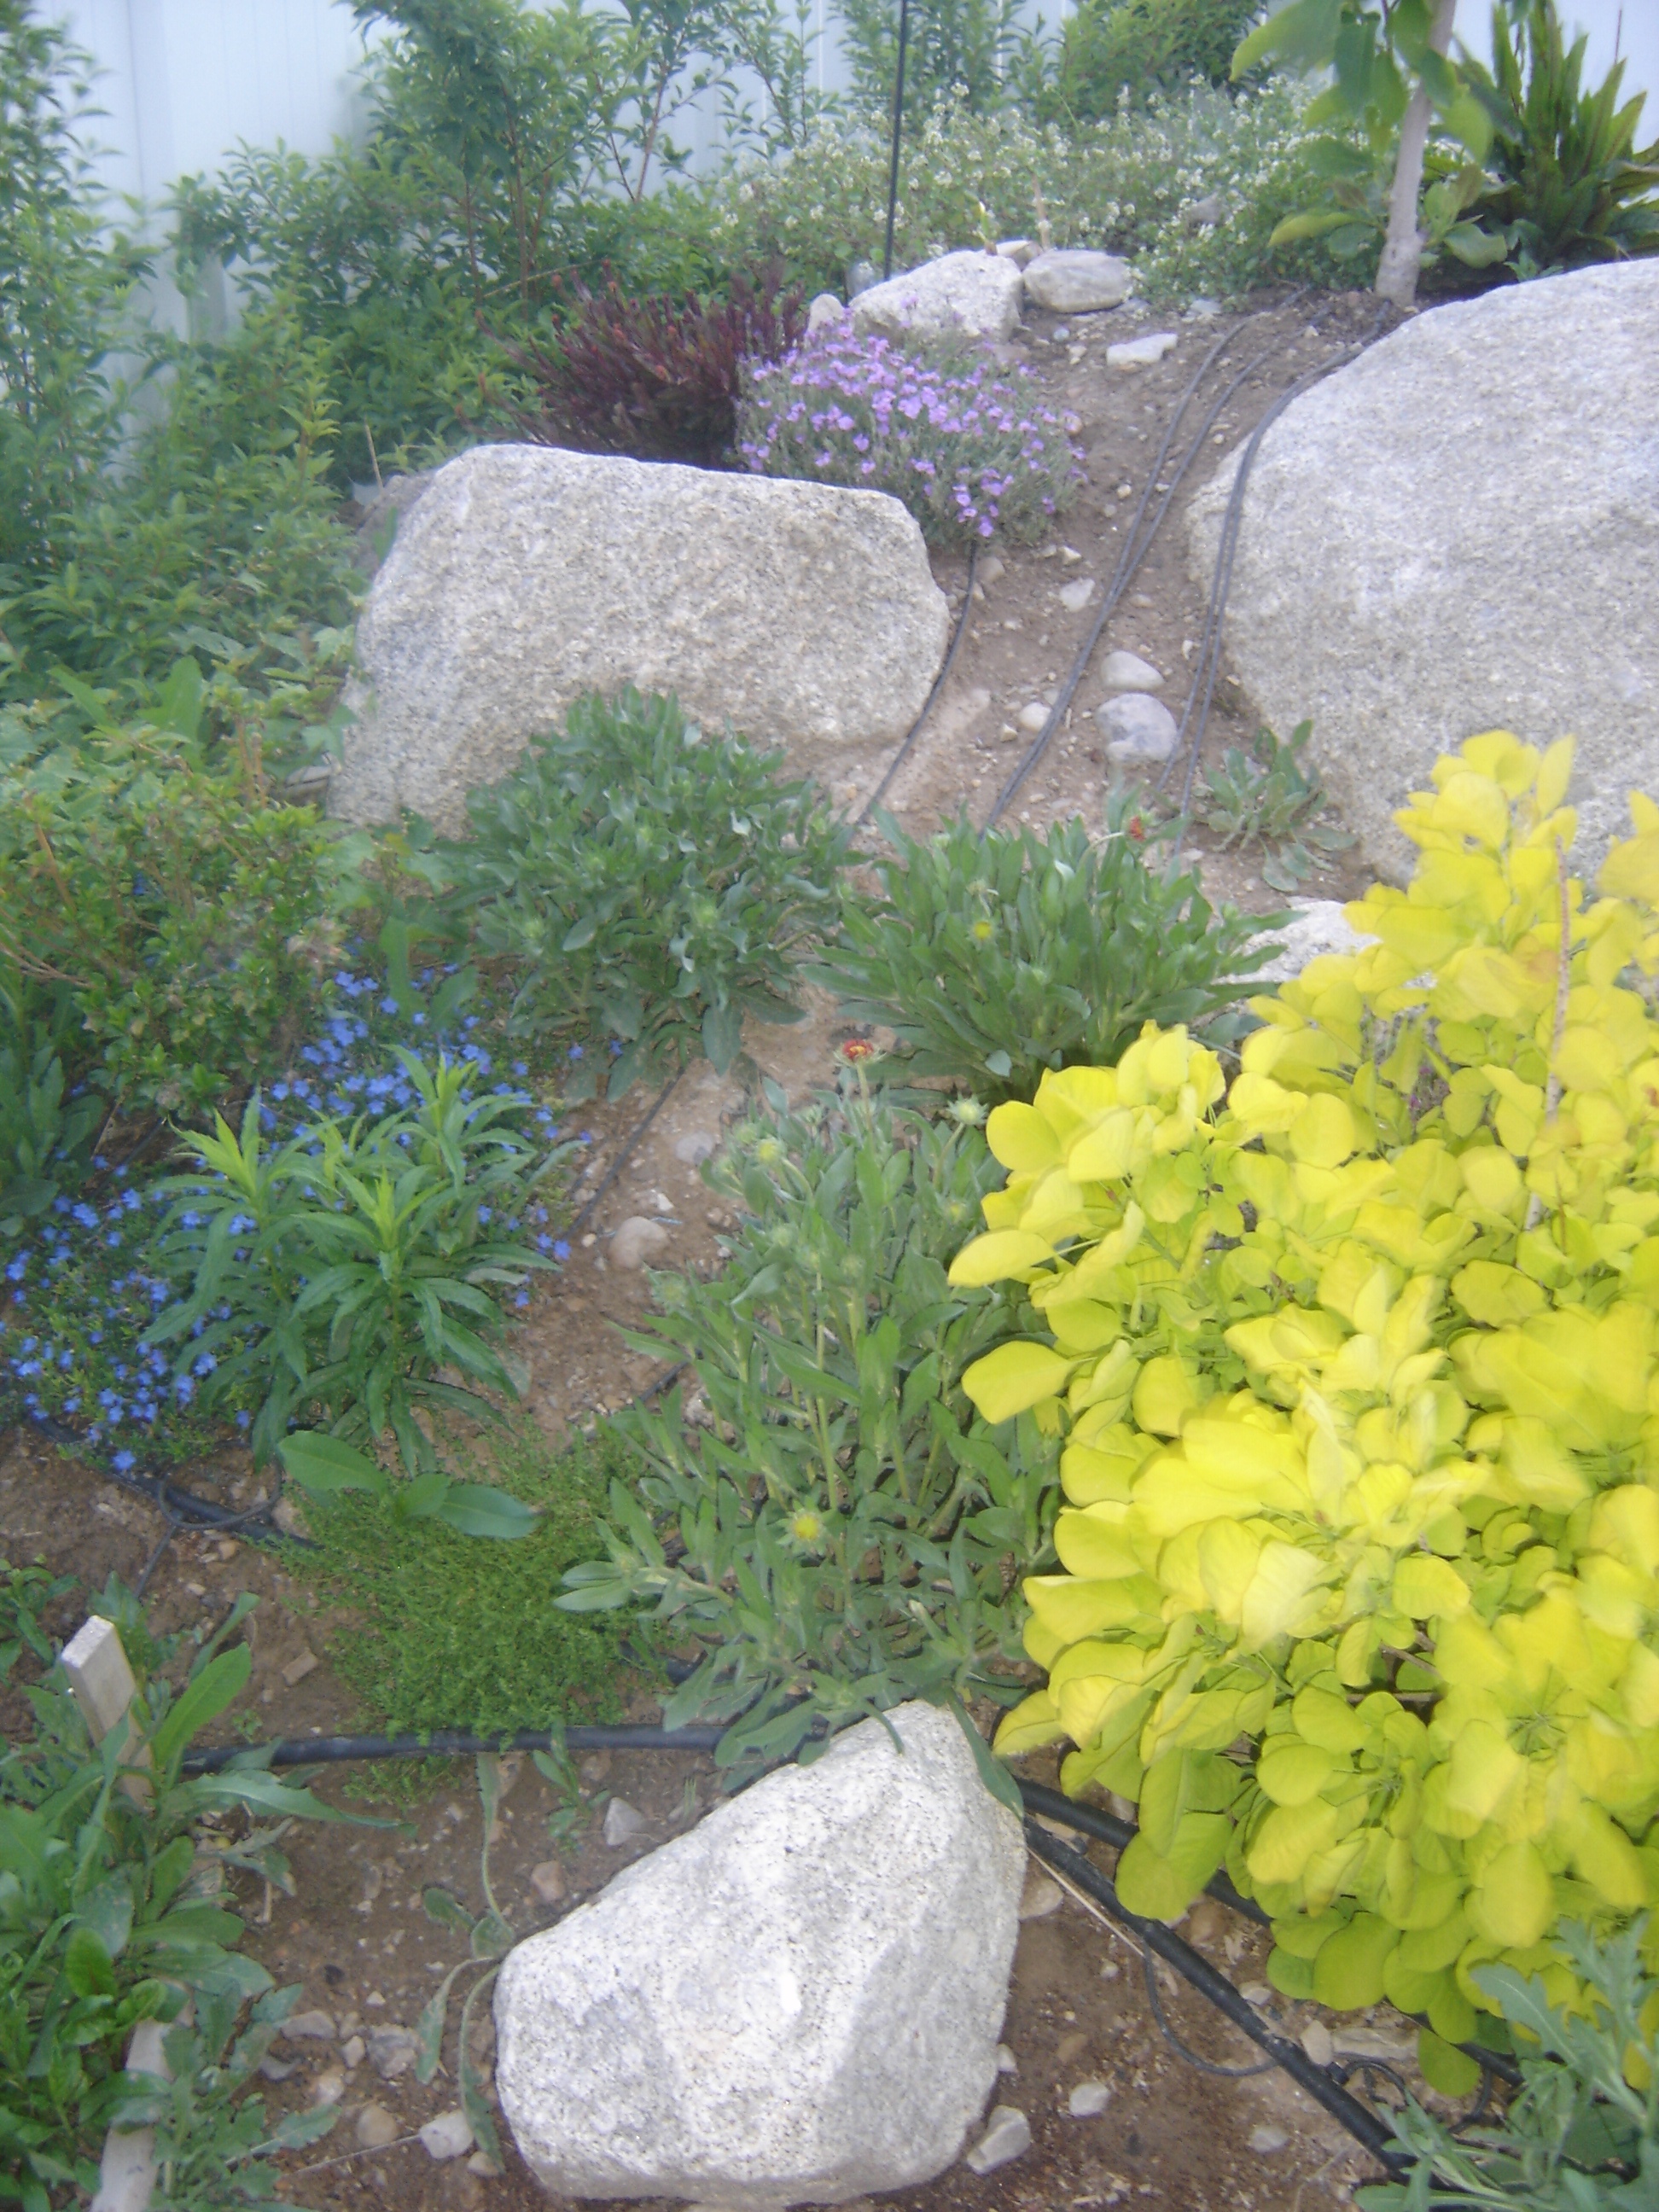
Allen Residence Progress
Allen Residence Pergola
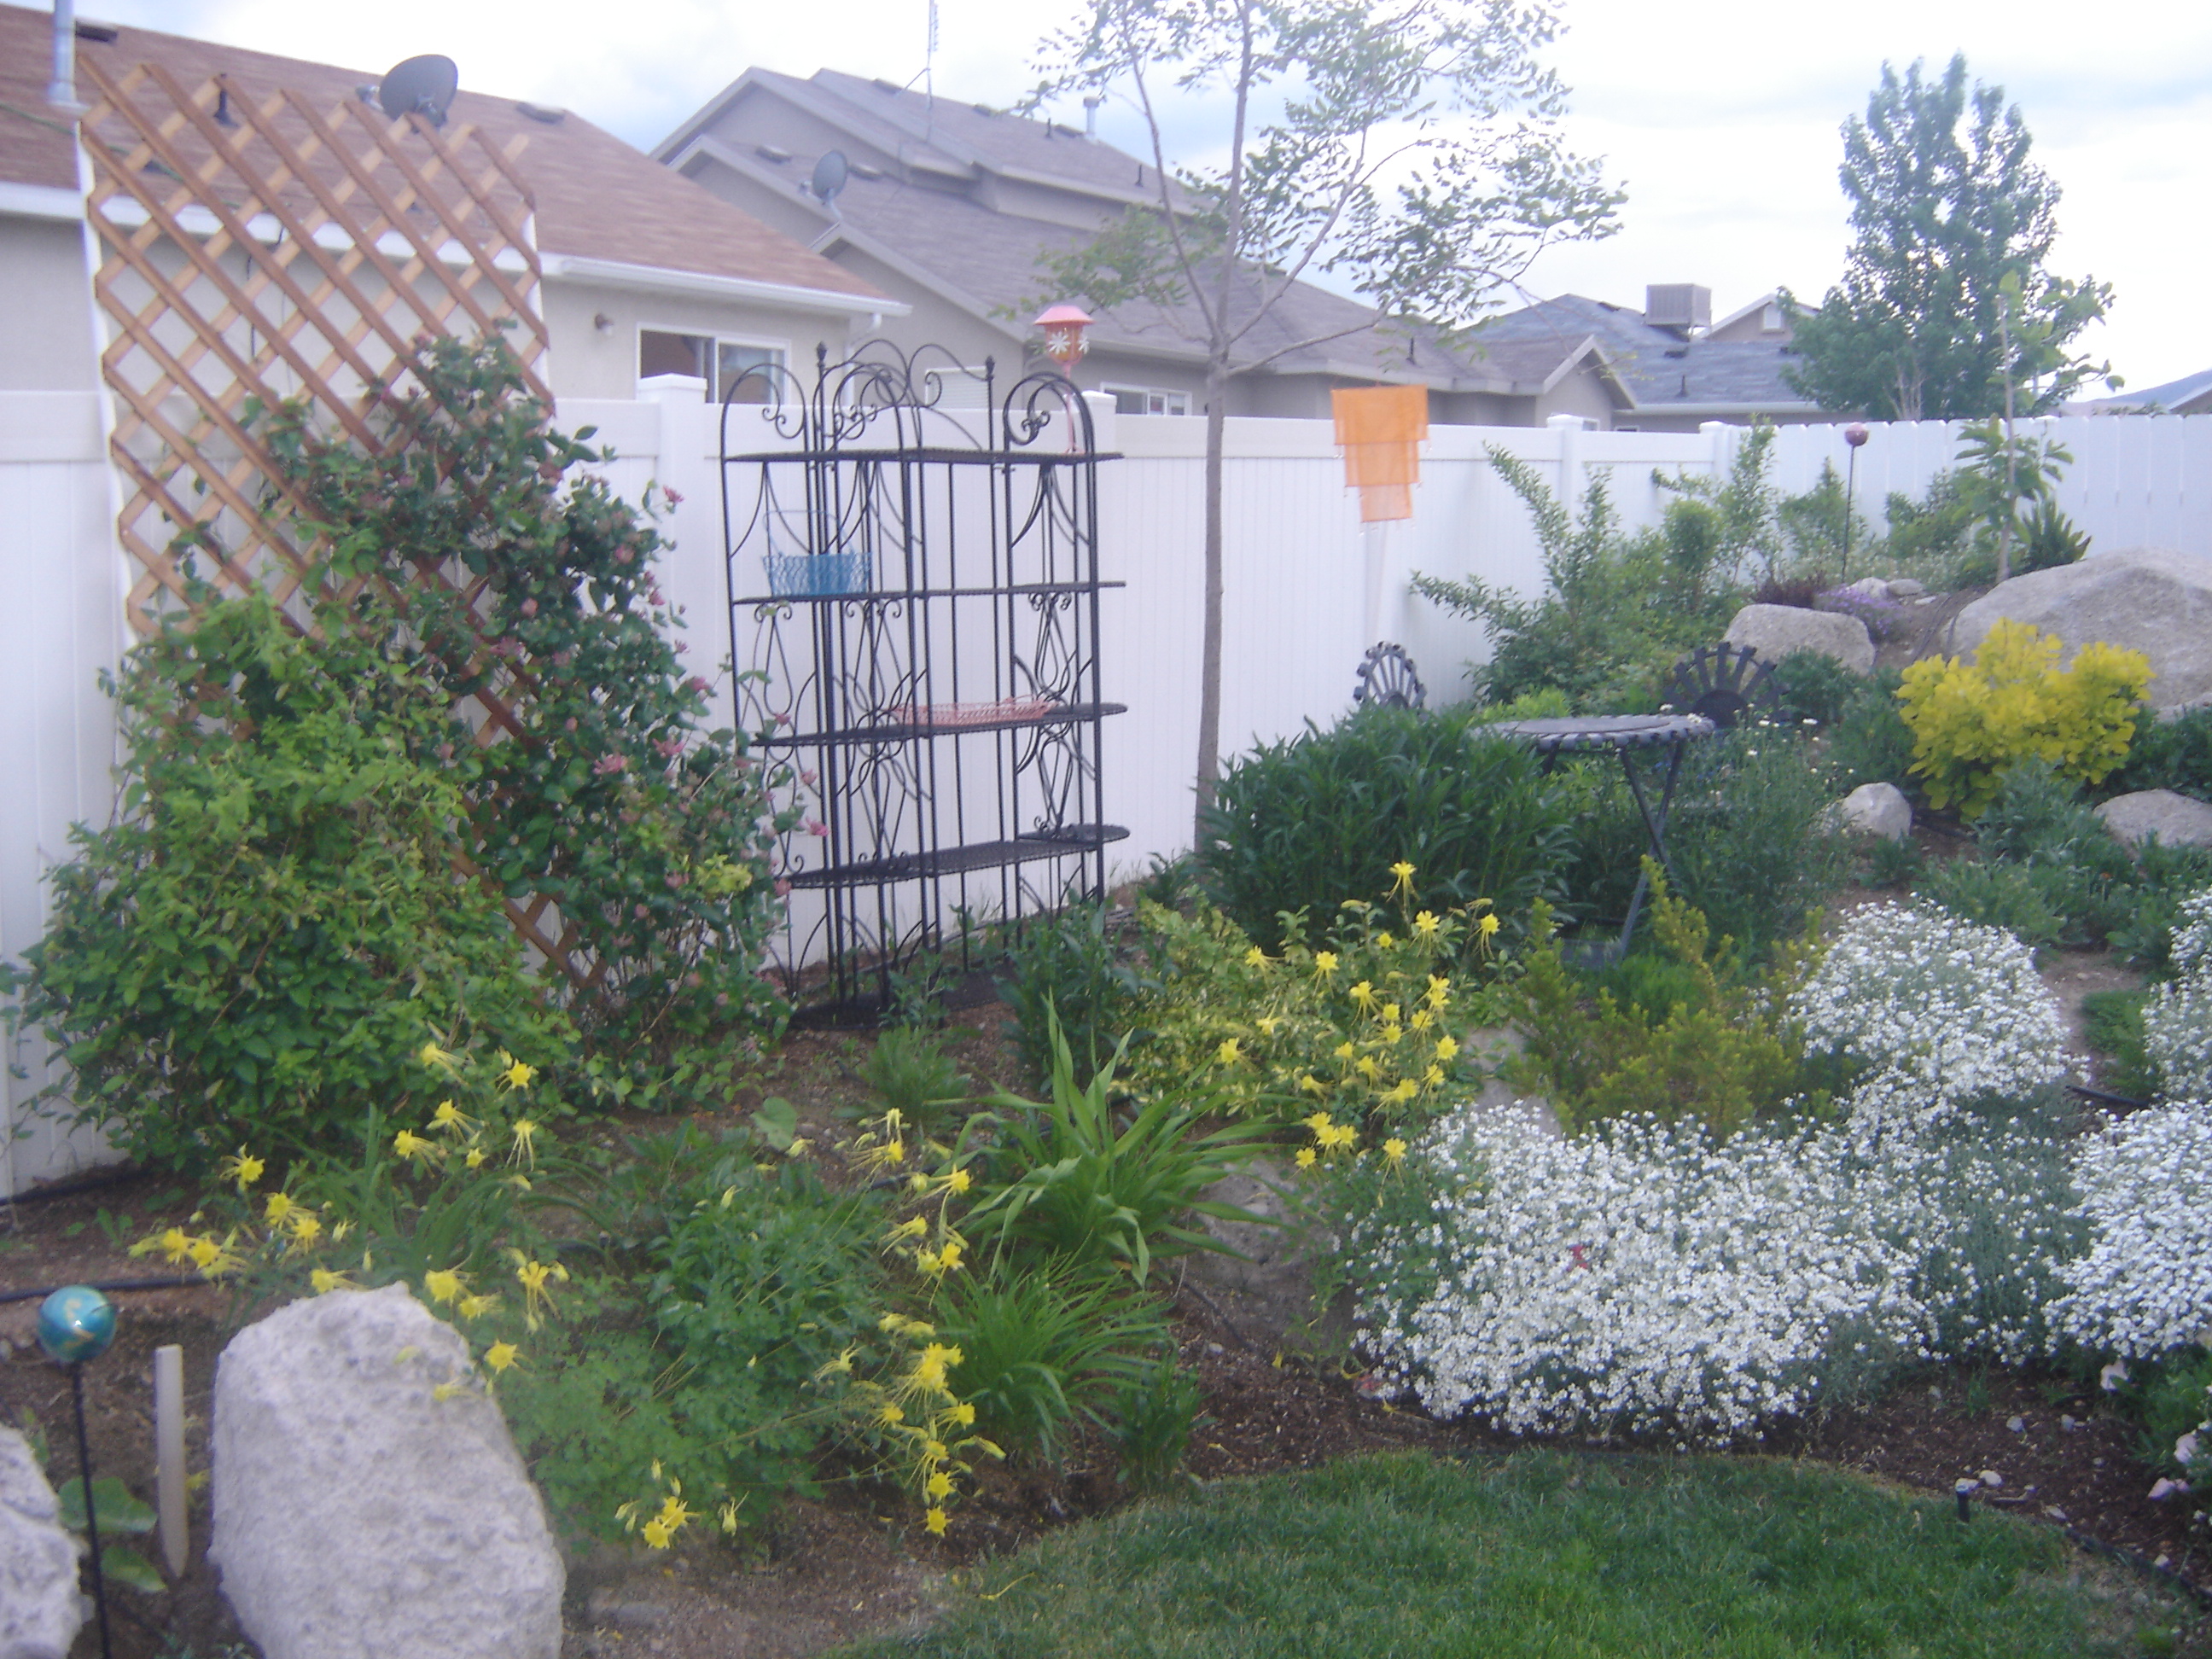
Allen Residence Completion Pictures
June 3rd, 2009

I like to say that in all of my flower beds, each plant is placed with purpose!  The purpose is much more obvious with the straight lines, even numbers and geometric shapes of a formal planting, but harder to conceive with the organized chaos of an informal planting.

Either way, I design beds with year round color and impact.  Click on the links below for more information about flower bed design philosophies and for examples of flower beds.

801-440-2204

Call today for a free consultation.  I do travel for large jobs.

Artisan Landscape Outdoor Living Podcast Episode 3–Informal Flower Bed Design Basics
10 Easty Steps to a Beautiful, Informal Flower Bed
Informal Flower Bed Design Pictures
Do You Want to See My Yard Part One

    Your Name (required)

    Your Email (required)

    Subject

    Your Message


    June 3rd, 2009

    Click on the links here below to see examples of designs I have done.

    Palmer Residence Back Yard
    Allen Residence Front Yard Flower Bed and Back Yard Dining Room
    June 3rd, 2009

    These are the before pictures for the Palmer Residence project.  There are some drainage issues by the back door, and otherwise we are looking at a plain sod and sprinklers canvas for their outdoor living spaces.

    I will post pictures throughout the project which will probably take a few years.

    June 3rd, 2009

    The park strip is a mix of colors and varieties, but I love the small patch of large, red oriental poppies mixed in with the purples of the sage and hardy cranesbill.

    I want to add some more flowers and a couple of cherry trees to the plantings in the park strip.  Then, if I can get some mulch in there, it will help with weed control!  Let me know what you think.

    June 3rd, 2009

    I have a ground cover area in my backyard where snow in summer has taken off and the flax has spread proliferously.  However, if you look closely, you can see small patches of blue star creeper with its dainty,  little, baby blue blossoms and the stunning green of the green carpet.


    Again, the groundcover has some growing up to do, but it will be a great floor for the outdoor living space that will eventually go there.

    June 2nd, 2009

    I decided to post the step by step directions for creating an informal flower bed in your Outdoor Living Spaces here so that those that wanted the how-to information but didn’t want to listen to the podcast on Informal Flower Bed Design, could have quick and easy access to the 10 steps.

    Figure out how many square feet you have.

    Once you know the area of the bed you are designing, you can figure out how many flowers/bulbs you need.  Use the formula 1/x for determining the number of perennials that you want (x=the spacing of the plants).  When using annuals, plan on about 2 plants and 2 bulbs per square foot for spring flowers and about 4 plants per square foot for summer flowers.

    Pick your plants.

    When picking your plants you must keep in mind that you are selecting plants to be skeleton (10%-20%), tendon (10%-20%), flesh (60%-80%), and sparkle (>5%)—these plants are explained more later.  Keep in mind height, texture and color.  Make sure when using perennials that all the plants fit in your hardiness zone and select plants that bloom at different times of the year.  Visit nurseries at different times of the year to see what is blooming.  Order free catalogs online and find new plants to incorporate in your designs.

    Draw your spine.

    Straight lines do not fit in an informal design.  Use sine curves, J’s, E’s, S’s, C’s, 8’s and explosions.  Try being fancy and drawing different lines for different bloom seasons. 

    Place your skeleton plants.

    Use odd numbers and place the plants in triangles (but not equilateral or isosceles triangles) and groups along the spine.  Leave space in between the groups for tendon plants.

    Place your tendon plants.

    Place the tendon plants in between and around the groups of skeleton plants.  Expand the spine as much as possible. 

    Place your flesh plants.

    Fill in the empty space.

    Place the sparkle plants.

    Put the sparkle plants in areas that you want to emphasize or where you want to draw attention.

    Plant the plants.

    Plant the bulbs about 4-6” deep pointed side up.  Plant annuals with the top of the root ball just under the surface green side up.  Plant perennials with the top of the root ball just above the surface.  Rough up the sides of the root ball before planting.

    Mulch and water the plants.

    Mulch perennials and summer annuals with either compost or shredded bark.  Do not mulch spring bulbs or spring annuals.  Water in all plants except bulbs.  Bulbs do not need watering.

    Enjoy and maintain.

    Take time to enjoy your flowers, especially by spending time  maintaining them.  Cut out the dead flowers and replace the dead plants.  Watch for diseases and insects.  Take a lot of pictures to show friends and neighbors.


    Skeleton- Bright, vibrant colors; tall, pointed forms; large, significant flowers


    Tendon- Colors, forms and flowers that compliment the skeleton plants


    Flesh- Colors, forms and flowers that emphasize the skeleton


    Sparkle- Frequently white or other significant or contrasting colors; usually small size or insignificant form; noticeable, but not detracting flowers; meant to emphasize or draw attention in a subtle way


    Free Catalogs:


    www.whiteflowerfarm.com


    www.burpee.com


    www.parkseed.com


    www.harrisseeds.com


    www.mellingers.com


    www.brecks.com


    www.musserforests.com


    www.dutchbulbs.com


    www.vanengelen.com


    www.jacksonandperkins.com


    www.dutchgardens.com


    www.gardensalive.com


    www.michiganbulbs.com


    www.brentandbeckysbulbs.com


    www.henrysplantfarm.com


    June 2nd, 2009

    Usually, perennials and shrubs take about three years to mature, start filling in and begin to look good.  This is year three for my flower beds. 

    I did use the informal flower bed design philosophy to design my flower bed, but I also went with a sort of monochromatic planting scheme for three different areas–red in the southeast, yellow and orange in the southwest, and purple in the west.  I mixed in colors from the other planting schemes into each area to add interest, but for the most part, monochromatic is the pattern.

    As you can see, there is still some growing up to do, but for the first time, I am not ashamed of the pictures of my yard.  So enjoy the beginnings of my Outdoor Living Spaces and let me know what you think!

    June 1st, 2009

    I have started to participate  in the Better Homes and Gardens Gardening Forum.  I really like forums because they provide a great resource for information on outdoor living spaces, finding out what others are doing, how they have solved the same problems you may have,  and for posting pictures of your projects for bragging and critique!

    better-homes-and-gardensI recommend you go to the website, register to participate, and start sharing as soon as possible.

    May 29th, 2009

    Allen Residence Pergola ConstructionThe pergola construction is complete, and I have posted the completion pictures of the Allen Residence Outdoor Dining Room for viewing.  To the right here is a picture of  the installation of the pergola. 

    I want to thank   vinyl-inustries   for the pergola manufacturing and installation.  I am very pleased with the construction and so are the Allens.

    May 29th, 2009